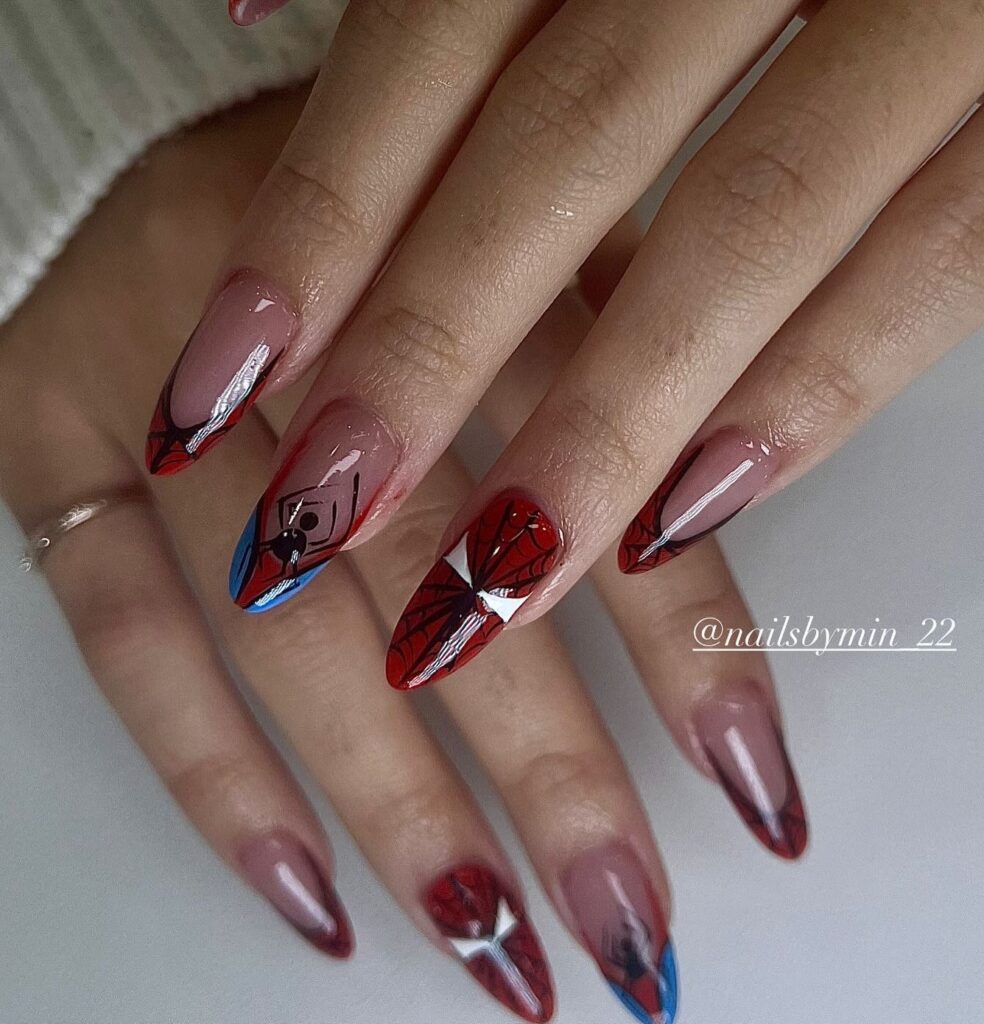
1. Spooky Spider Webs
Spider webs are a classic Halloween symbol, perfect for a creepy yet chic nail design. Start with a black or dark purple base coat to set the eerie tone. Use a fine nail brush or a stamping tool to create delicate spider webs in white or silver. The contrast between the dark base and the light webs adds a striking effect, making the design pop. You can place the webs on one or two accent nails or cover all nails for a more dramatic look. For an extra touch, add a small rhinestone or glitter where the web lines intersect, mimicking the dew drops you might find on a real spider web. This design is versatile, allowing for creativity in web placement and thickness, making it suitable for both short and long nails.
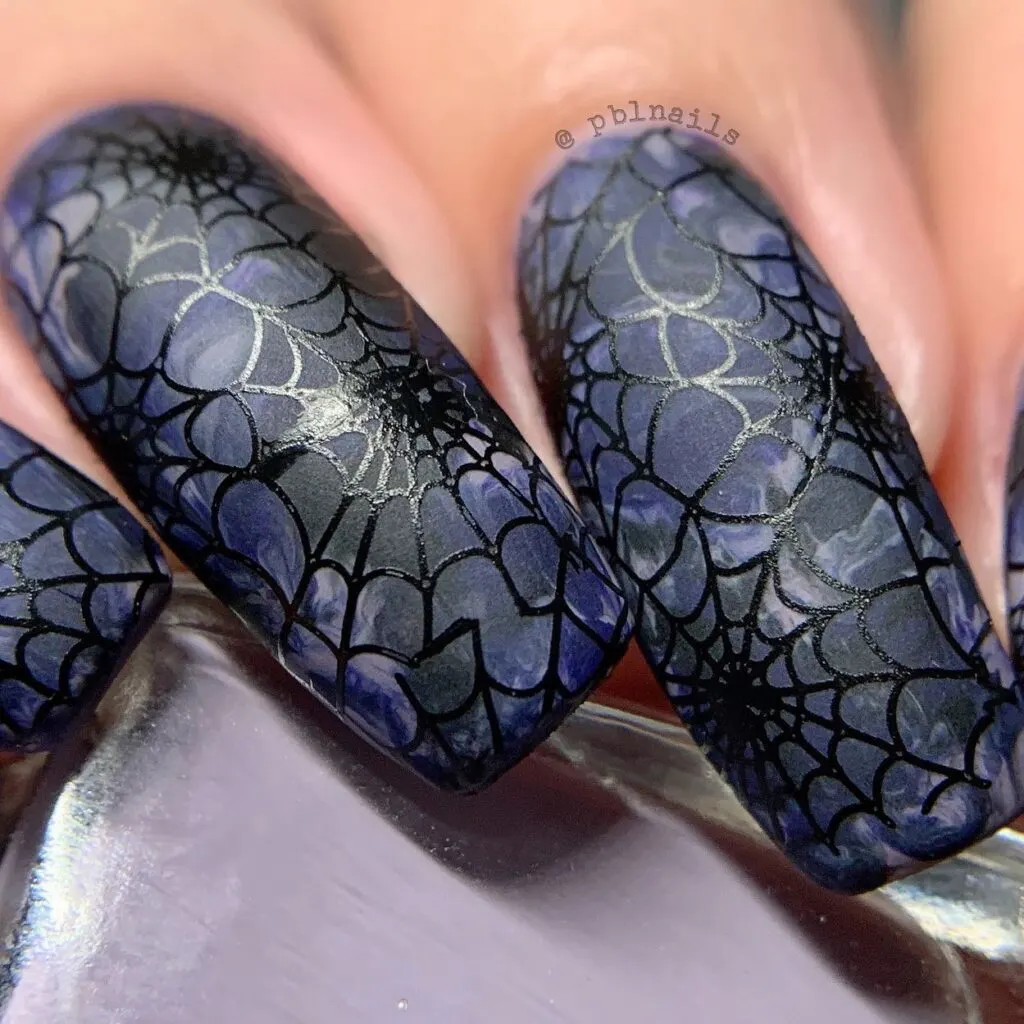
2. Bloody Drips
Bloody drip nails are perfect for those who want a gory, yet stylish look. Begin with a nude or pale pink base coat to mimic the appearance of natural skin. Once dry, use a deep red polish to create the blood drips. Start at the tip of the nail and drag the polish down towards the cuticle, varying the length and thickness of each drip for a more realistic effect. You can also add a drop of black polish to the red before applying it to give the blood a darker, more coagulated appearance. This design is particularly effective on longer nails, where the drips can be extended and exaggerated. Pair this look with a vampy lipstick for a complete Halloween ensemble.
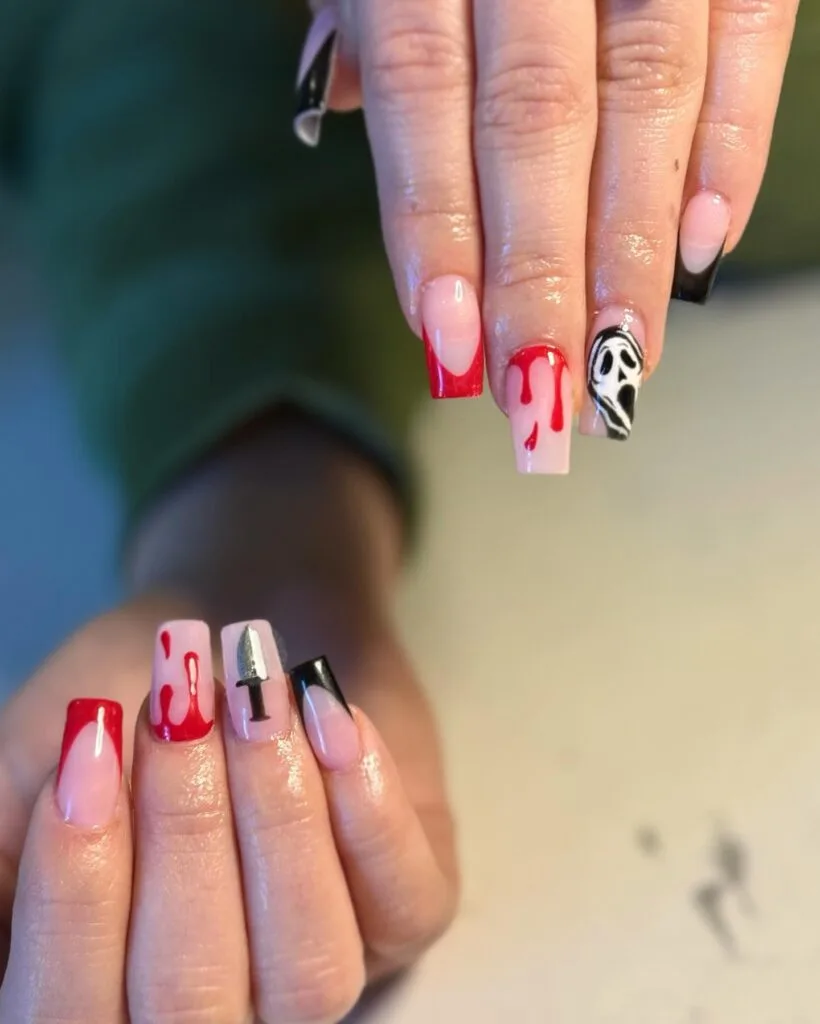
3. Pumpkin Patch
Pumpkin-themed nails bring a touch of fall festivity to your Halloween manicure. Start with a bright orange base to represent the pumpkins. Once the base is dry, use a green polish to create the pumpkin stems at the tips of the nails. For the details, use a fine nail brush to paint vertical stripes on the orange base, giving the pumpkins a more three-dimensional look. Add some vines or leaves around the pumpkins to enhance the patch effect. For an added touch, you can incorporate small jack-o’-lantern faces on a few of the pumpkins using black polish. This design is cheerful and festive, making it a great option for those who prefer a more light-hearted Halloween look.
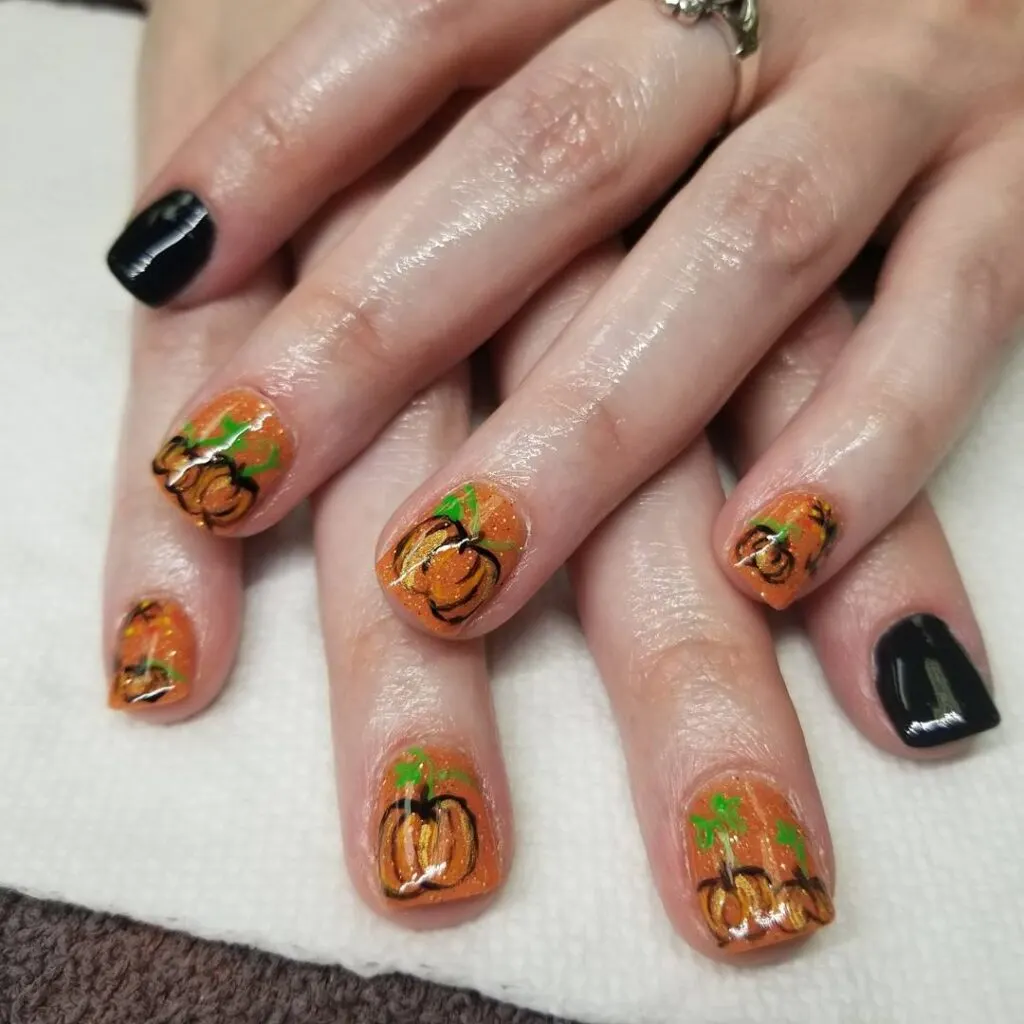
4. Ghostly Figures
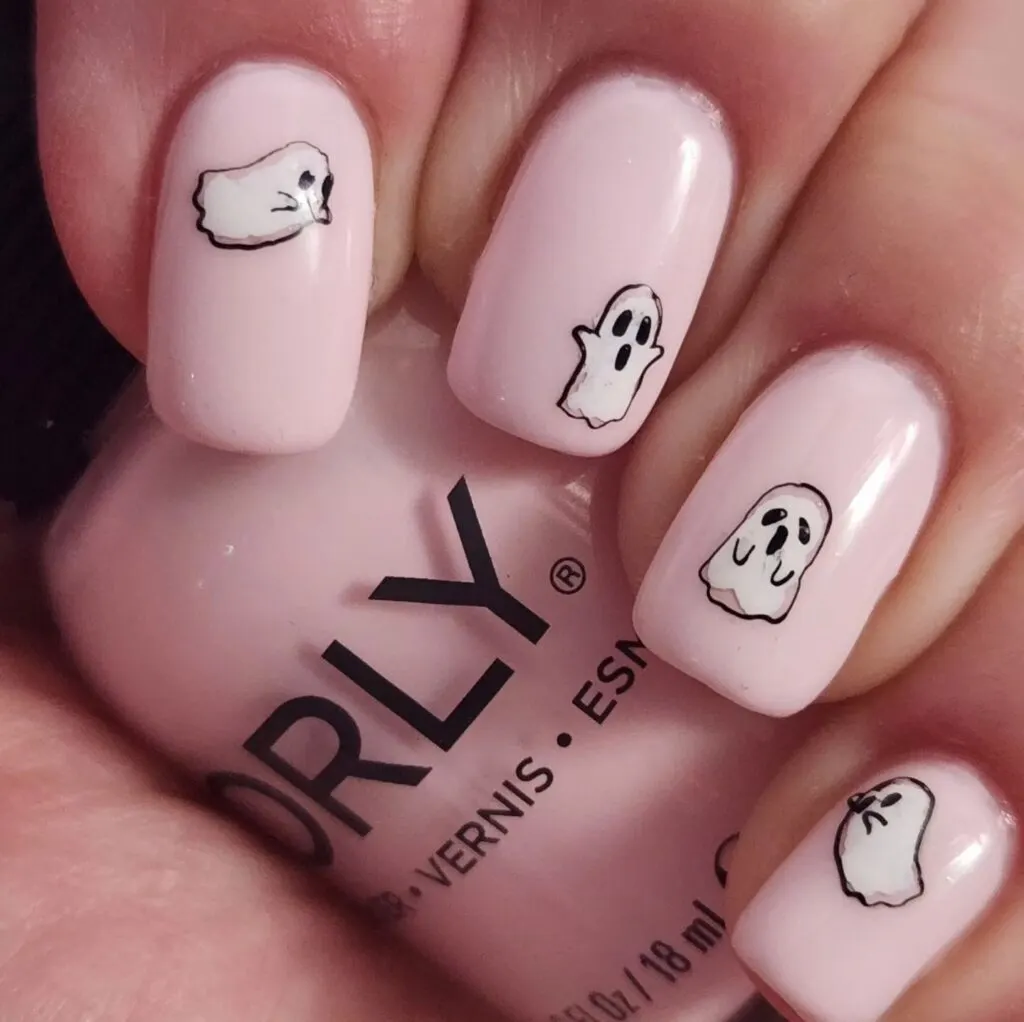
Ghost nails are a cute and spooky design, perfect for Halloween. Begin with a solid black or dark grey base coat. Once the base is dry, use white polish to paint the outline of ghostly figures. The ghosts should have rounded tops with tapered or wispy bottoms to give them a floating appearance. After the white polish dries, use a fine brush or a dotting tool to add black eyes and an open mouth to the ghosts, giving them a playful or surprised expression. To enhance the spooky effect, you can add a touch of glow-in-the-dark polish over the white ghosts. This design works well on both short and long nails, and it’s a great choice for anyone looking to add a bit of fun to their Halloween manicure.
5. Mummified Nails
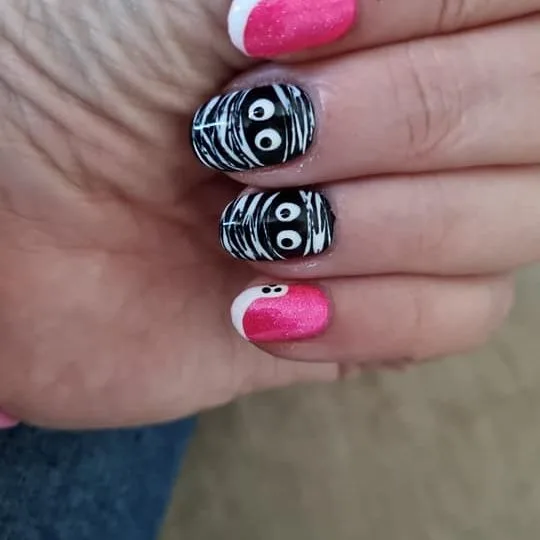
Mummy nails are a fun and easy Halloween design that gives your nails a wrapped-up, mysterious look. Start with a white or light beige base coat to represent the mummy’s bandages. Once dry, use a thin striping brush to paint horizontal black lines across the nails, mimicking the look of bandages. For a more realistic effect, stagger the lines and vary their thickness. Add two small black dots or googly eyes peeking out from between the bandages on one or two accent nails. This simple yet striking design can be customized with different background colors, such as grey or brown, to create a more aged or worn-out mummy appearance. This design is perfect for a playful yet spooky look.
6. Haunted House Silhouettes
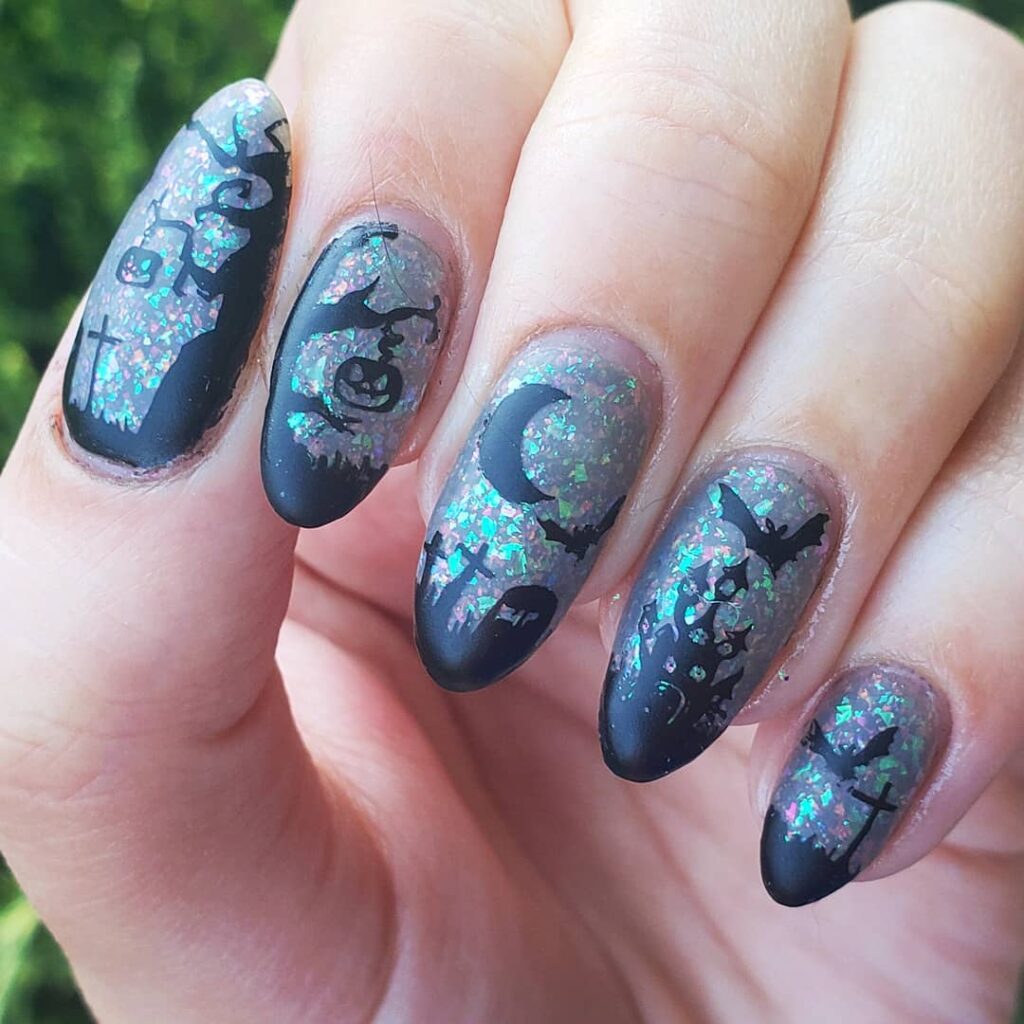
Haunted house nails capture the eerie atmosphere of a ghostly mansion. Start with a gradient base, blending from dark blue to black to create a night sky effect. Once the gradient is dry, use black polish and a fine brush to paint the silhouette of a haunted house on an accent nail. Add small details like windows, a crooked fence, and bats flying around the house. On the other nails, you can add more spooky elements like a full moon, trees, or gravestones to complete the scene. This design is intricate and requires a steady hand, but the result is a stunning, cohesive Halloween look that’s sure to impress.
7. Jack Skellington
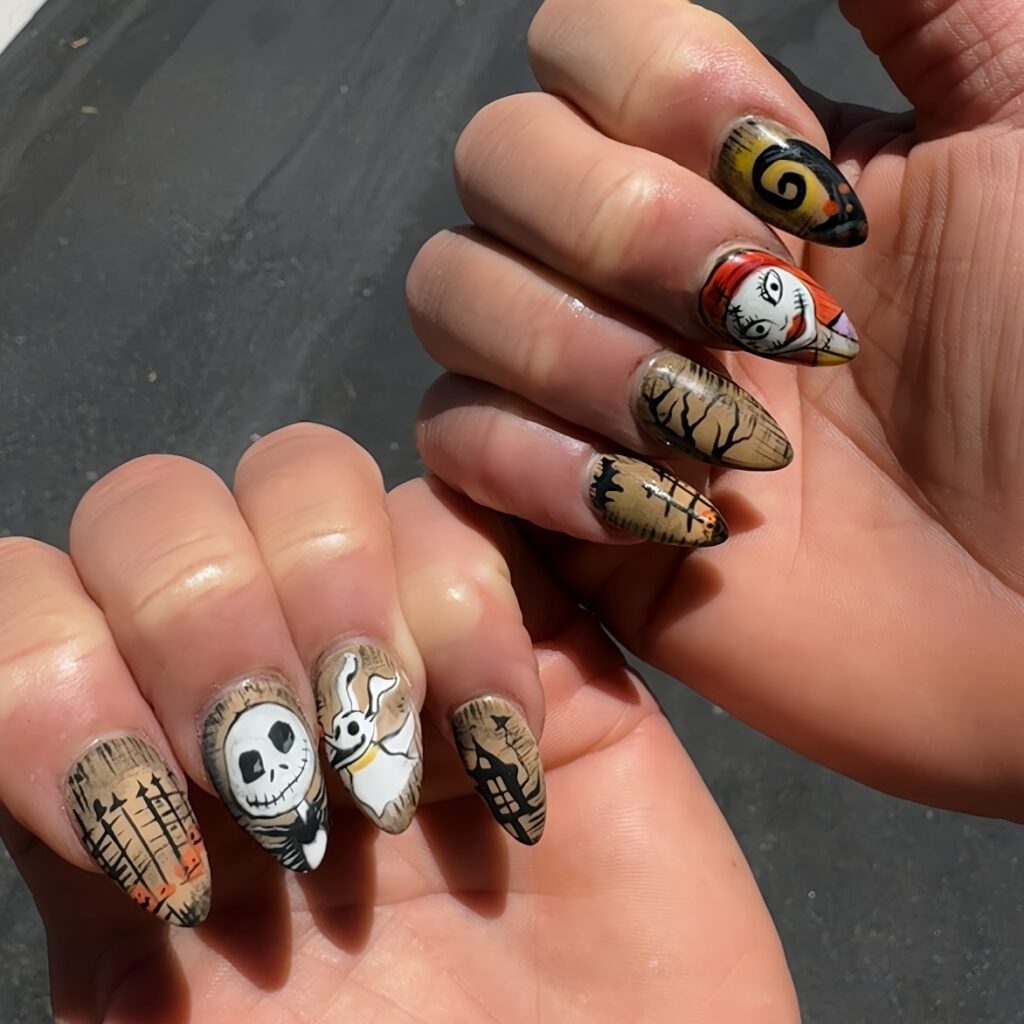
Inspired by the iconic character from “The Nightmare Before Christmas,” Jack Skellington nails are a great choice for fans of the movie. Begin with a solid black base coat. Once dry, use white polish to create Jack’s face on an accent nail. Paint a large, oval-shaped head and use a fine brush to add the details of his face: large, hollow eyes, two small nostrils, and a wide, stitched smile. On the other nails, you can add white stripes to mimic his pinstripe suit or paint mini versions of other characters from the movie. This design is both spooky and stylish, making it a perfect tribute to the beloved film.
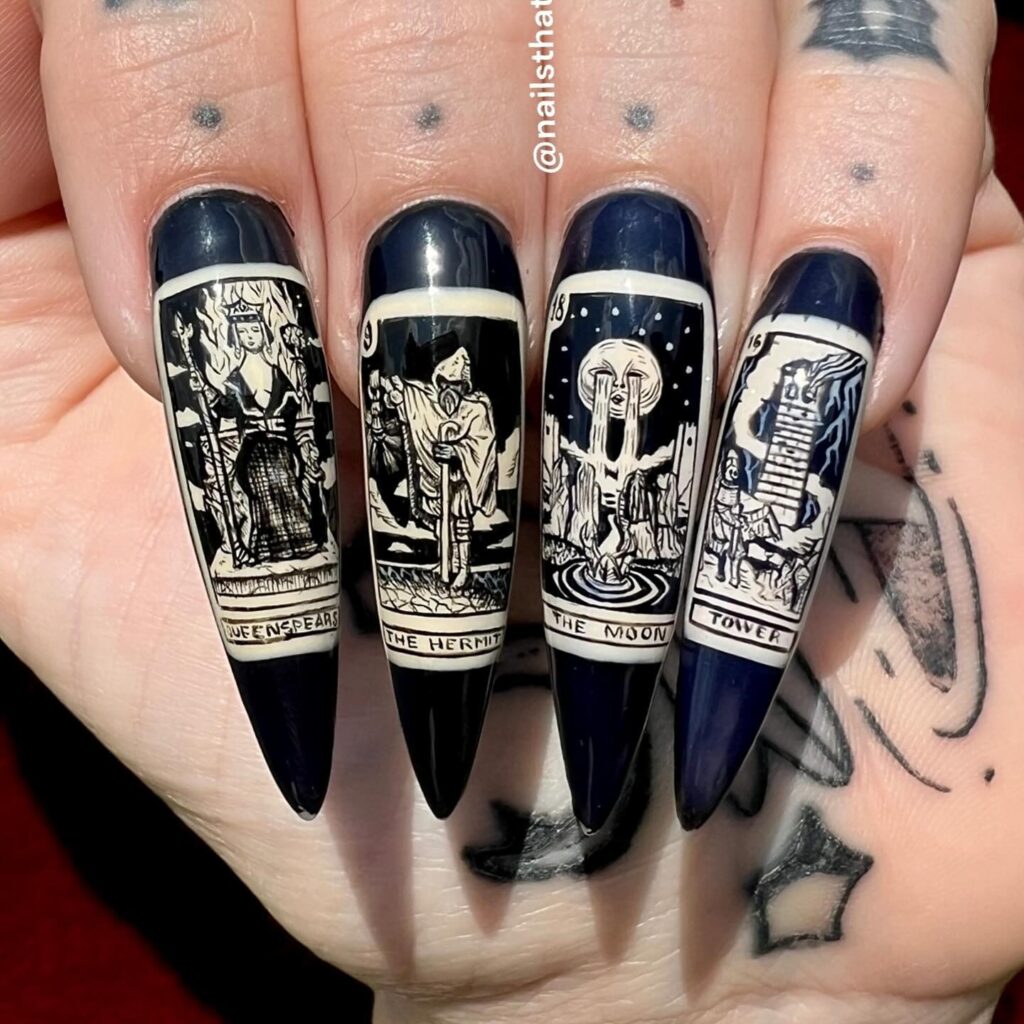
8. Witchy Symbols
Witchy symbols like pentagrams, moons, and potion bottles make for a magical and mysterious nail design. Start with a deep purple or black base coat. Once dry, use a fine brush or stamping tool to add symbols like crescent moons, stars, pentagrams, or potion bottles in metallic silver or gold. For an extra touch of magic, add some glitter or holographic topcoat over the symbols. You can choose to place one symbol on each nail or create a more intricate design by combining multiple symbols on a single nail. This design is perfect for anyone who loves the mystical side of Halloween.
9. Candy Corn
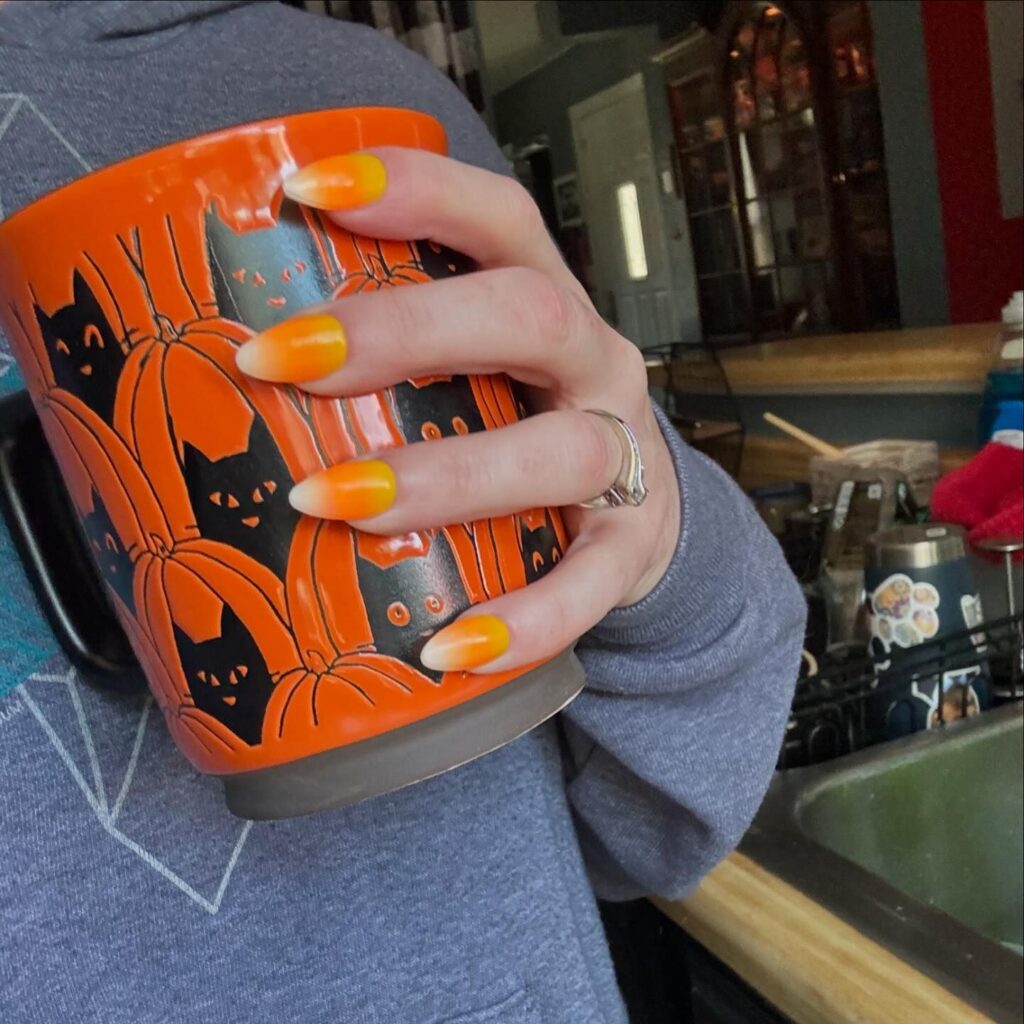
Candy corn nails are a sweet and festive option for Halloween. This simple yet eye-catching design mimics the classic candy with its iconic tri-color stripes. Start with a white base coat on all nails. Once dry, use a bright orange polish to paint a horizontal stripe in the middle of each nail, leaving the tips white. Then, use a yellow polish to paint the bottom third of the nail, leaving the middle orange and the tips white. The result is a perfect representation of candy corn, with its distinctive layers of color. For a fun twist, you can add a layer of glitter polish on top for some extra sparkle.
10. Graveyard Scene
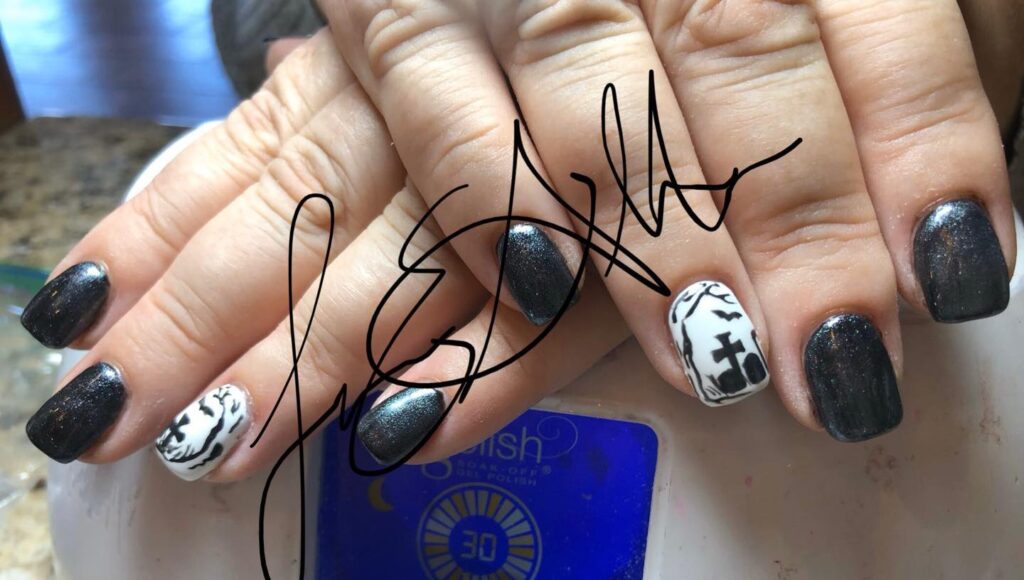
A graveyard scene on your nails captures the spooky essence of Halloween. Start with a dark grey or black base coat to represent the night sky. Once dry, use a fine brush and black polish to paint the silhouettes of tombstones, crosses, and dead trees on your nails. Add small details like bats, a full moon, and clouds for a more atmospheric effect. You can even include the silhouette of a hand reaching out from a grave for a creepy touch. This design is perfect for those who want to create a detailed, spooky scene on their nails.
11. Vampire Fangs
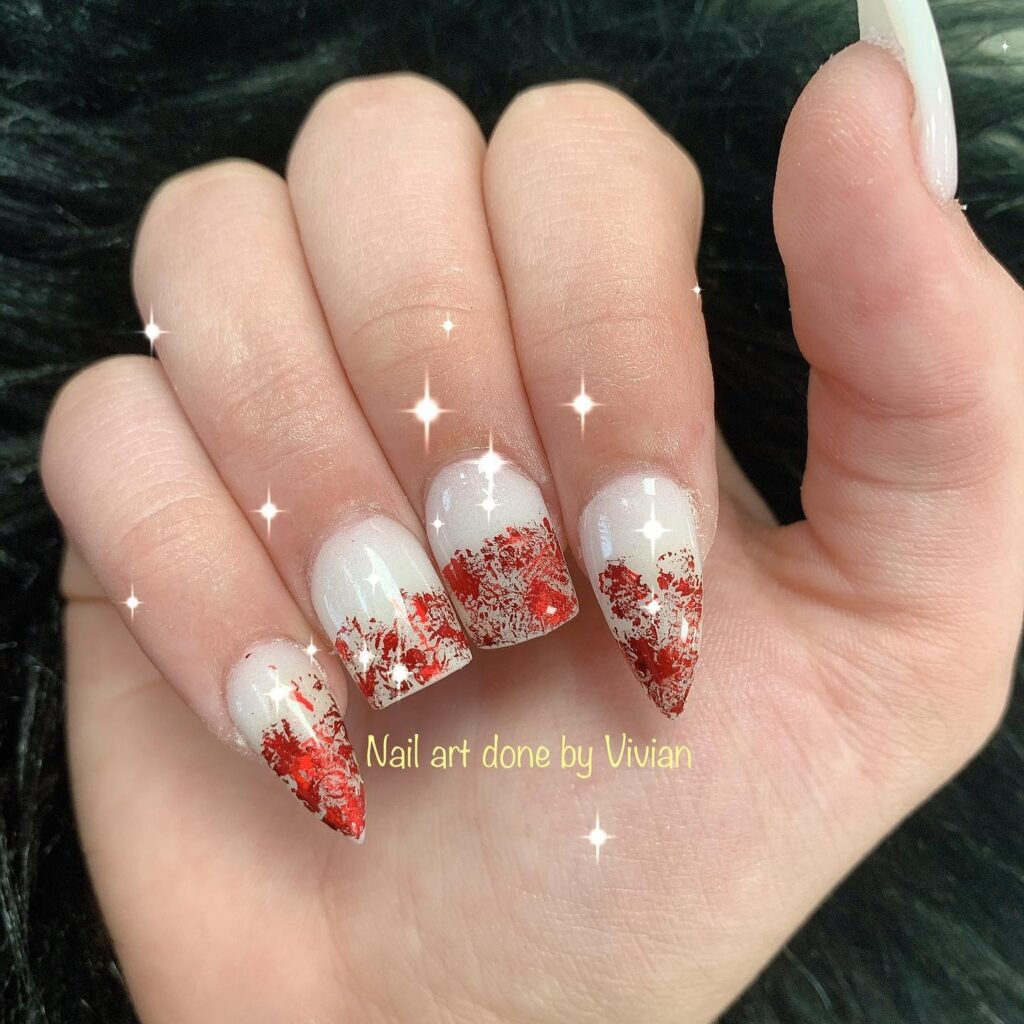
Vampire fang nails are a sharp and striking design perfect for a Halloween look. Start with a deep red or black base coat to set a dark, vampy tone. Once dry, use white polish and a fine brush to paint vampire fangs on one or two accent nails. The fangs should be sharp and slightly curved, with a small drop of blood (using red polish) at the tip for added effect. You can also add small details like bite marks or a trail of blood on the other nails to complete the theme. This design is bold and dramatic, making it a great choice for those who want to channel their inner vampire this Halloween.
12. Bat Silhouettes
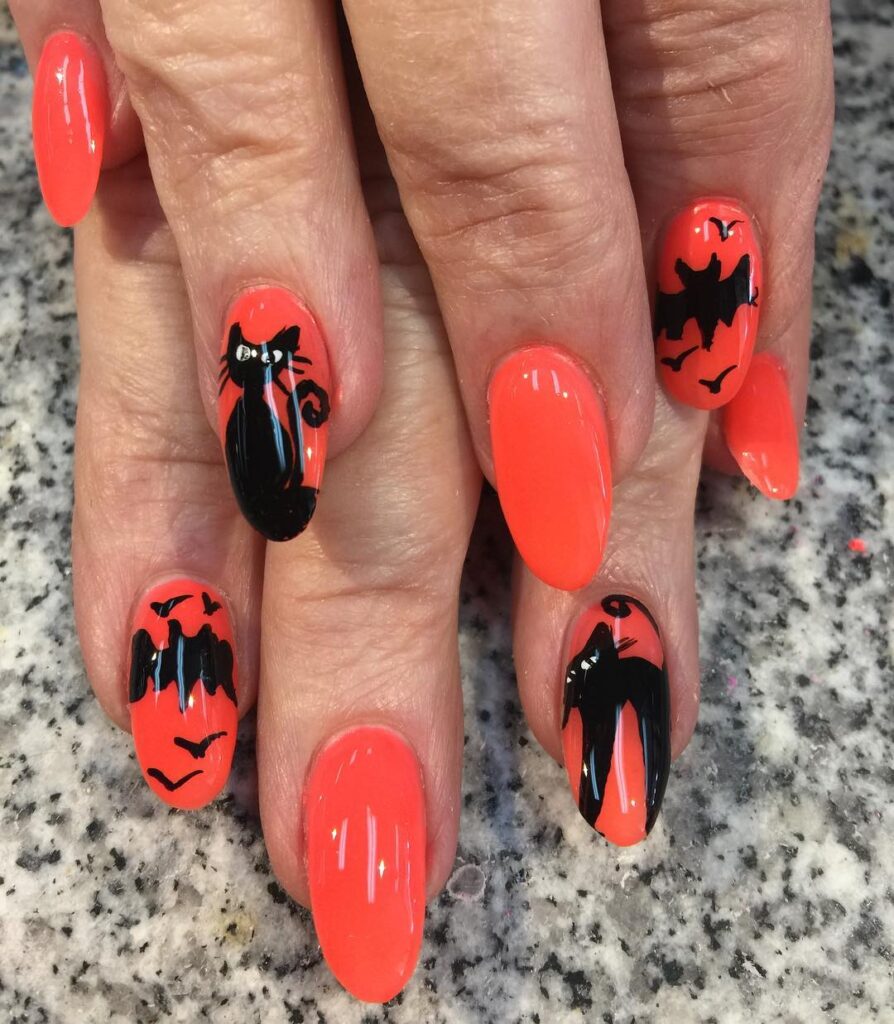
Bat silhouettes are a classic Halloween design that’s simple yet effective. Start with a dark purple or navy blue base coat to mimic a night sky. Once dry, use black polish and a fine brush to paint the silhouettes of bats flying across your nails. Vary the size and orientation of the bats to create the illusion of depth and movement. For an extra touch, you can add a full moon on one of the accent nails using white polish, and place the bats flying in front of it. This design is easy to create and looks great on both short and long nails, making it a versatile option for Halloween.
13. Creepy Eyes
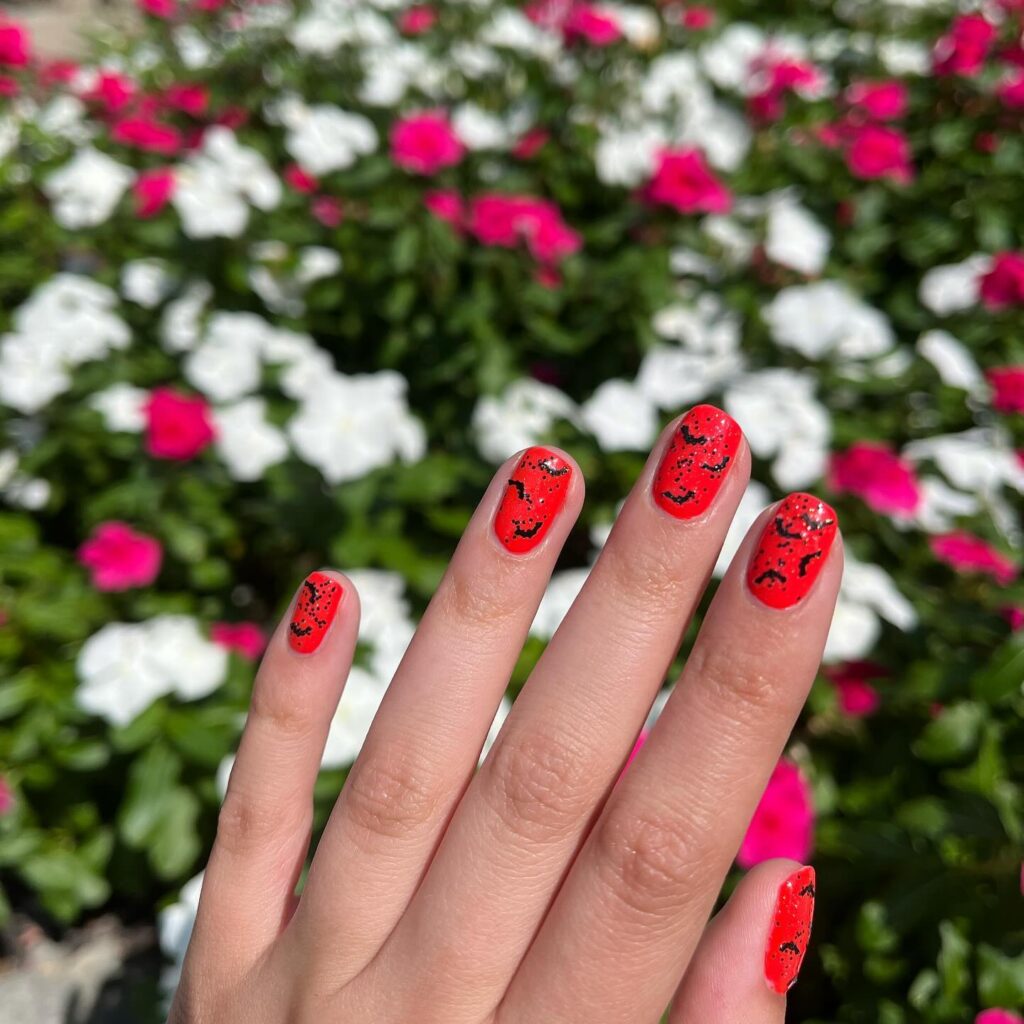
Creepy eye nails are a fun and eerie design that gives the illusion of being watched. Start with a black or dark blue base coat to represent the night. Once dry, use white polish to paint small, oval-shaped eyes on each nail. Use a fine brush or dotting tool to add black pupils in the center of each eye. To make the eyes look even more unsettling, you can vary the direction in which they’re looking, or add red veins using a fine brush and red polish. This design is perfect for those who want to add a touch of humor to their Halloween nails while still keeping it spooky.
14. Skeleton Bones
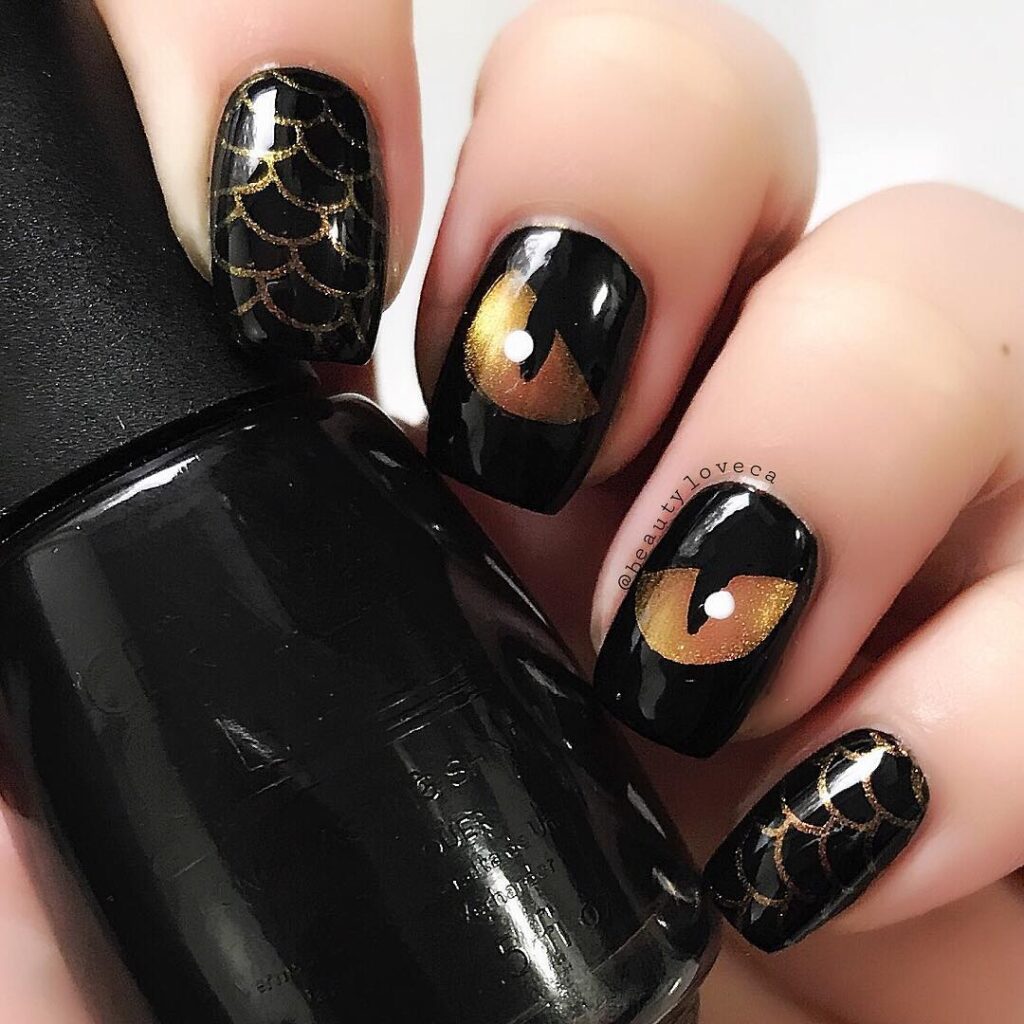
Skeleton bone nails are a classic and spooky design, perfect for Halloween. Start with a black base coat to create a dark, dramatic background. Once dry, use white polish to paint the bones of a skeleton on each nail. You can create a different bone on each nail, such as a skull, ribcage, or hand bones, or paint the same design across all nails for a cohesive look. For an added touch, you can outline the bones in black to make them stand out even more against the black base. This design is perfect for anyone who wants to embrace the macabre side of Halloween.
15. Frankenstein’s Monster
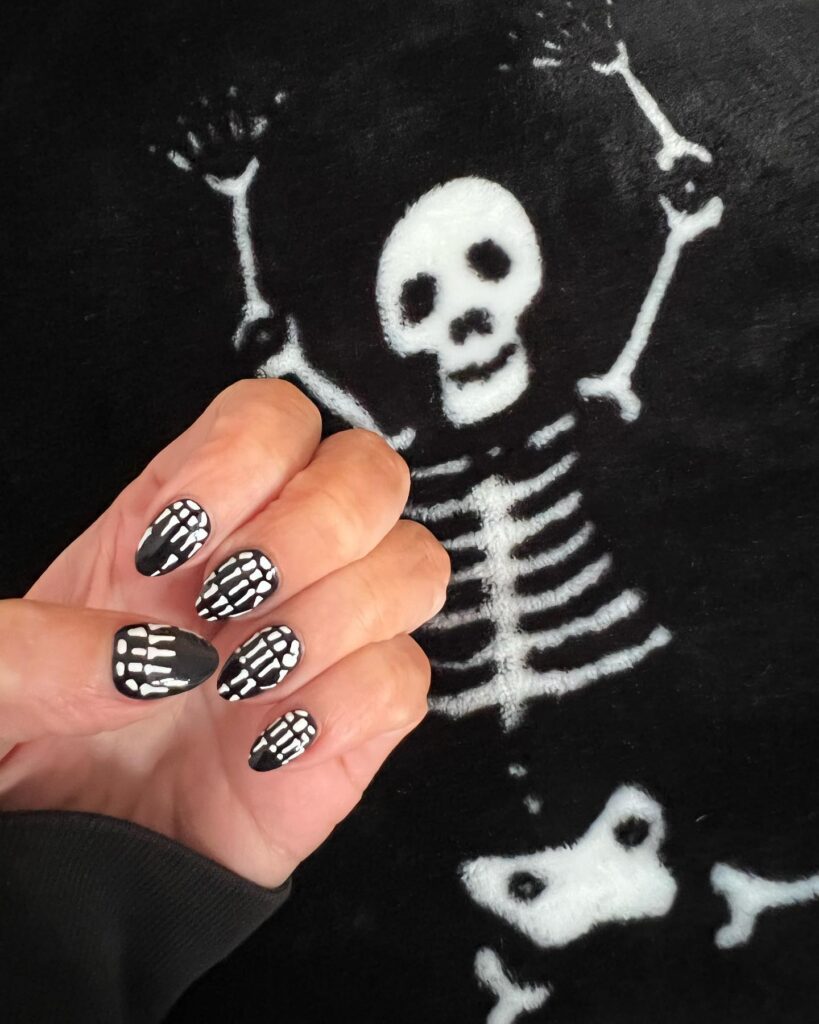
Frankenstein’s monster nails are a fun and iconic Halloween design. Start with a green base coat to represent the monster’s skin. Once dry, use black polish to paint the details of the monster’s face on an accent nail. This can include his stitched forehead, bolts on the sides of his neck, and a flat-top haircut. On the other nails, you can add stitches, bolts, or other Frankenstein-inspired details to complete the look. This design is a great choice for anyone who loves classic horror movies and wants to pay tribute to one of the most famous monsters in cinematic history.
16. Black Cats
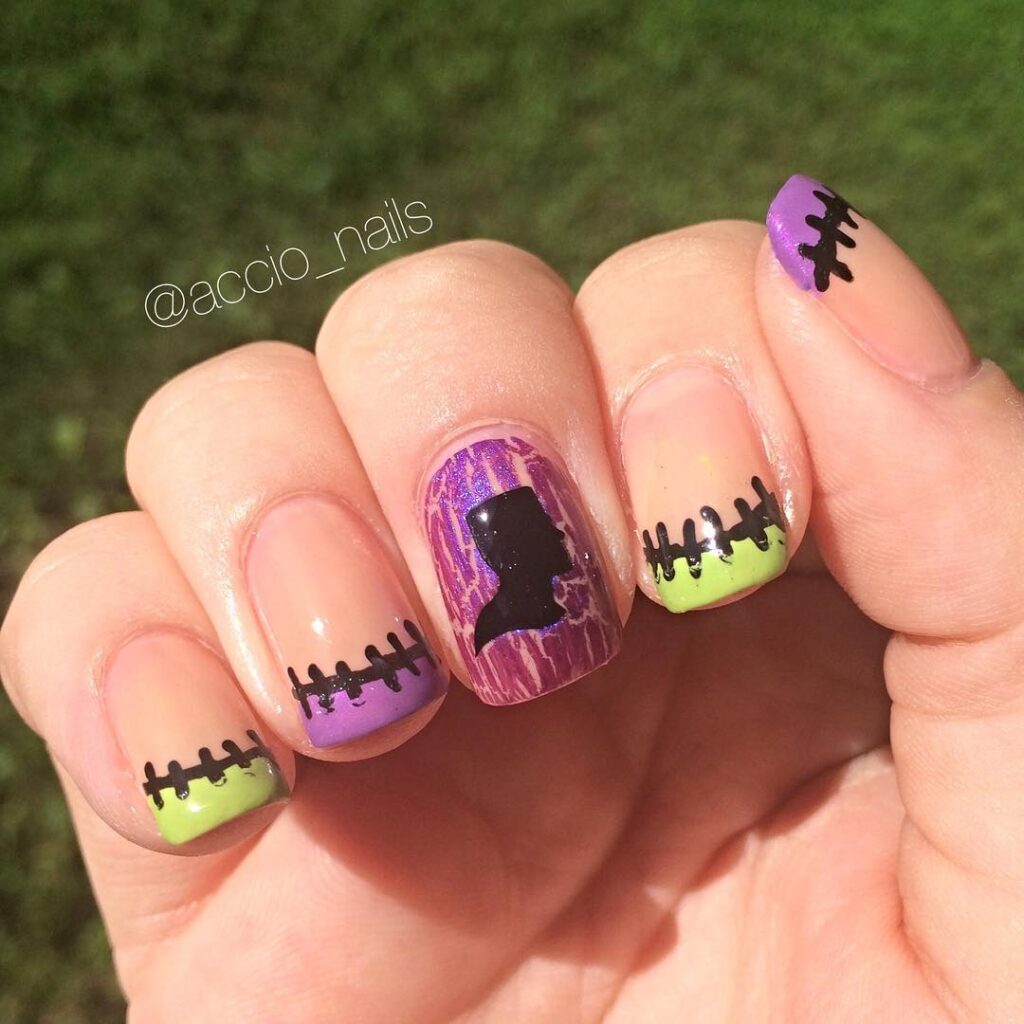
Black cat nails are a cute and spooky design perfect for Halloween. Start with a solid black base coat to create the cat’s body. Once dry, use a fine brush and white polish to paint the cat’s eyes, and a small dotting tool to add the pupils. For an added touch, you can paint the cat’s whiskers, nose, and ears using a fine brush and pink or white polish. You can also create a full-body cat silhouette on an accent nail, with its tail curving around the edge of the nail. This design is perfect for anyone who loves cats and wants to incorporate them into their Halloween look.
17. Zombie Nails
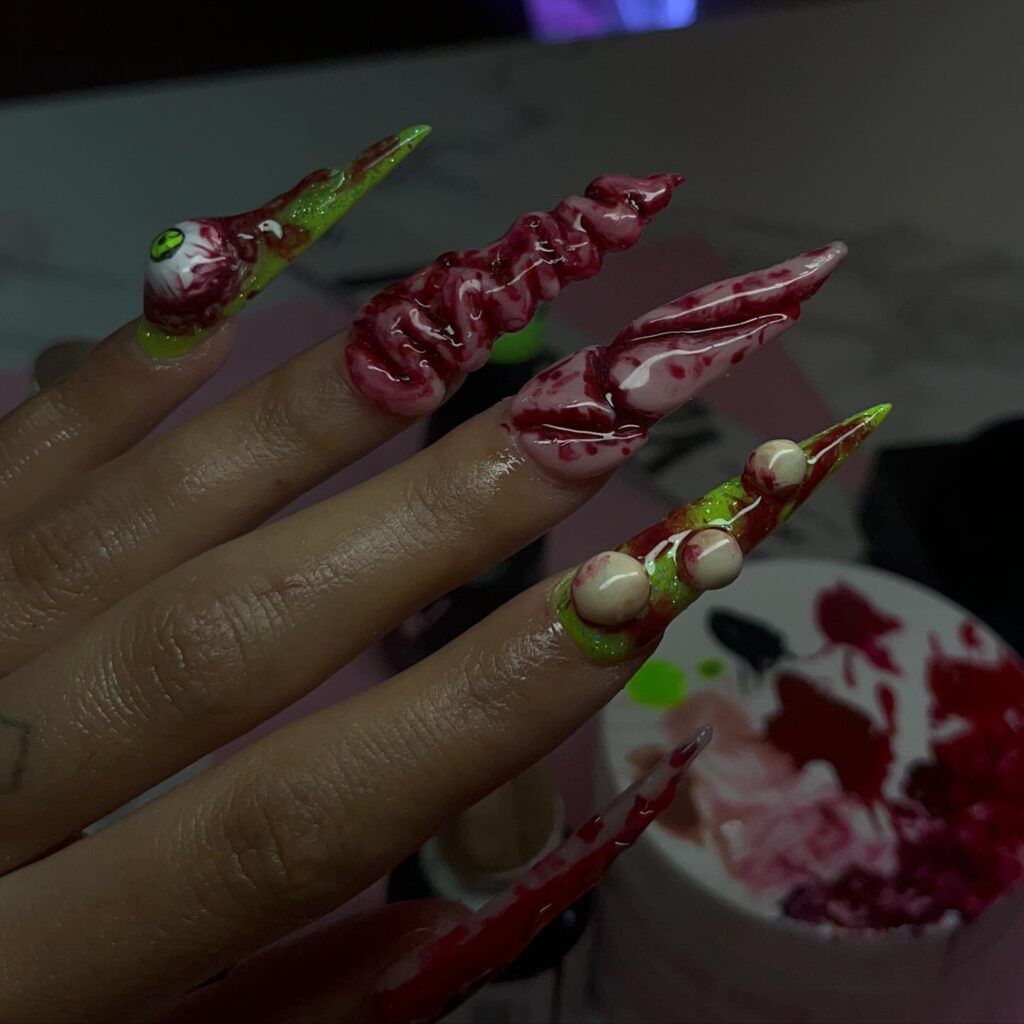
Zombie nails are a gory and gruesome design perfect for Halloween. Start with a pale green or grey base coat to represent the zombie’s decaying skin. Once dry, use a fine brush and black polish to add details like cracks, wounds, and stitches. You can also add a touch of red polish to create the effect of blood oozing from the wounds. For an extra touch, you can use a sponge to dab on some darker green or brown polish to create the look of dirt or decay. This design is perfect for anyone who wants to embrace the more gruesome side of Halloween.
18. Ghoulish Gradient
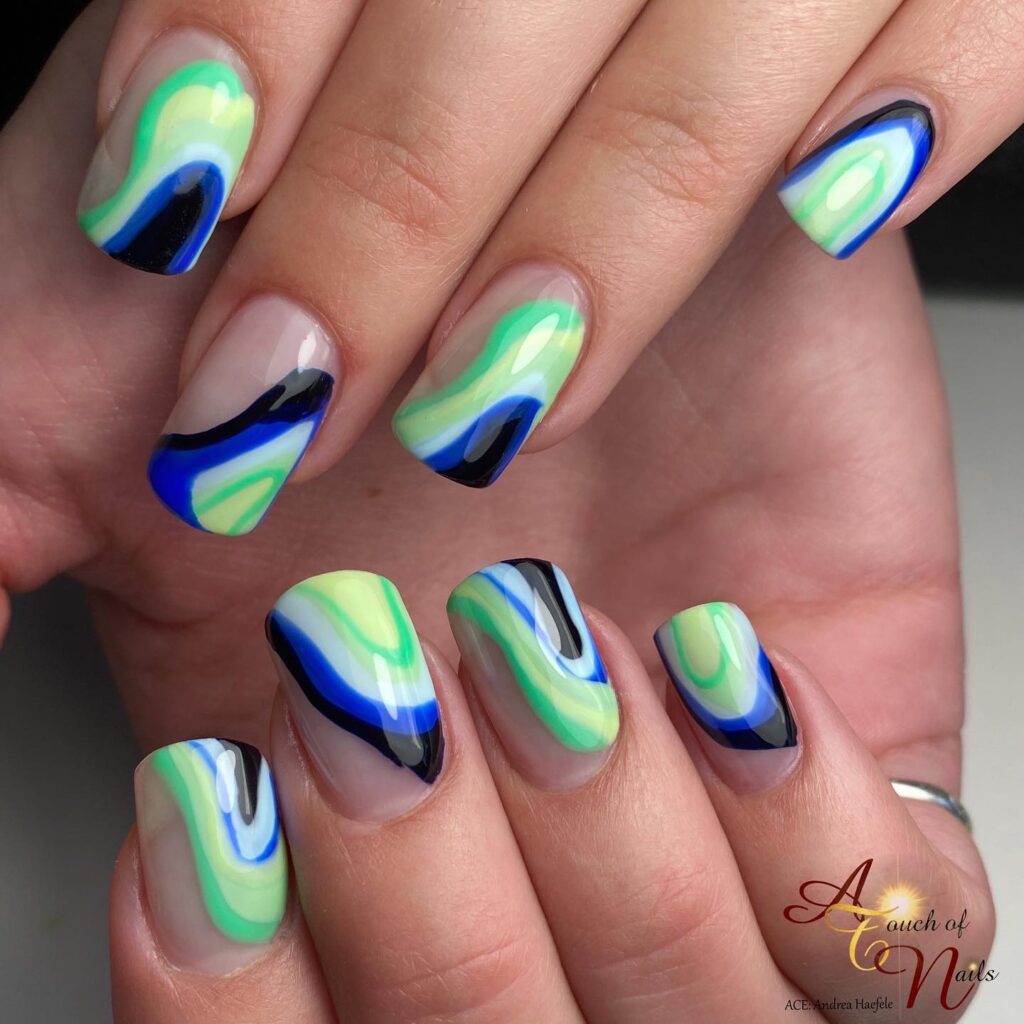
A ghoulish gradient is a simple yet striking design that captures the eerie essence of Halloween. Start by creating a gradient effect using dark purple, black, and grey polishes. Blend the colors together using a sponge to create a smooth transition from one color to the next. Once the gradient is dry, use black polish and a fine brush to paint spooky silhouettes like bats, trees, or tombstones on the nails. The gradient background adds depth to the design, making it look like a spooky scene unfolding in the dead of night. This design is perfect for anyone who wants a more subtle yet still spooky Halloween look.
19. Witch’s Brew
Witch’s brew nails are a fun and whimsical design perfect for Halloween. Start with a deep purple or green base coat to represent the witch’s cauldron. Once dry, use a fine brush and black polish to paint the cauldron on an accent nail. Add some green or purple bubbles overflowing from the top of the cauldron using a dotting tool. For an extra touch, you can add small details like a wooden spoon stirring the brew or a crescent moon in the background. This design is perfect for anyone who loves the magical side of Halloween and wants to incorporate it into their manicure.
20. Monster Eyes
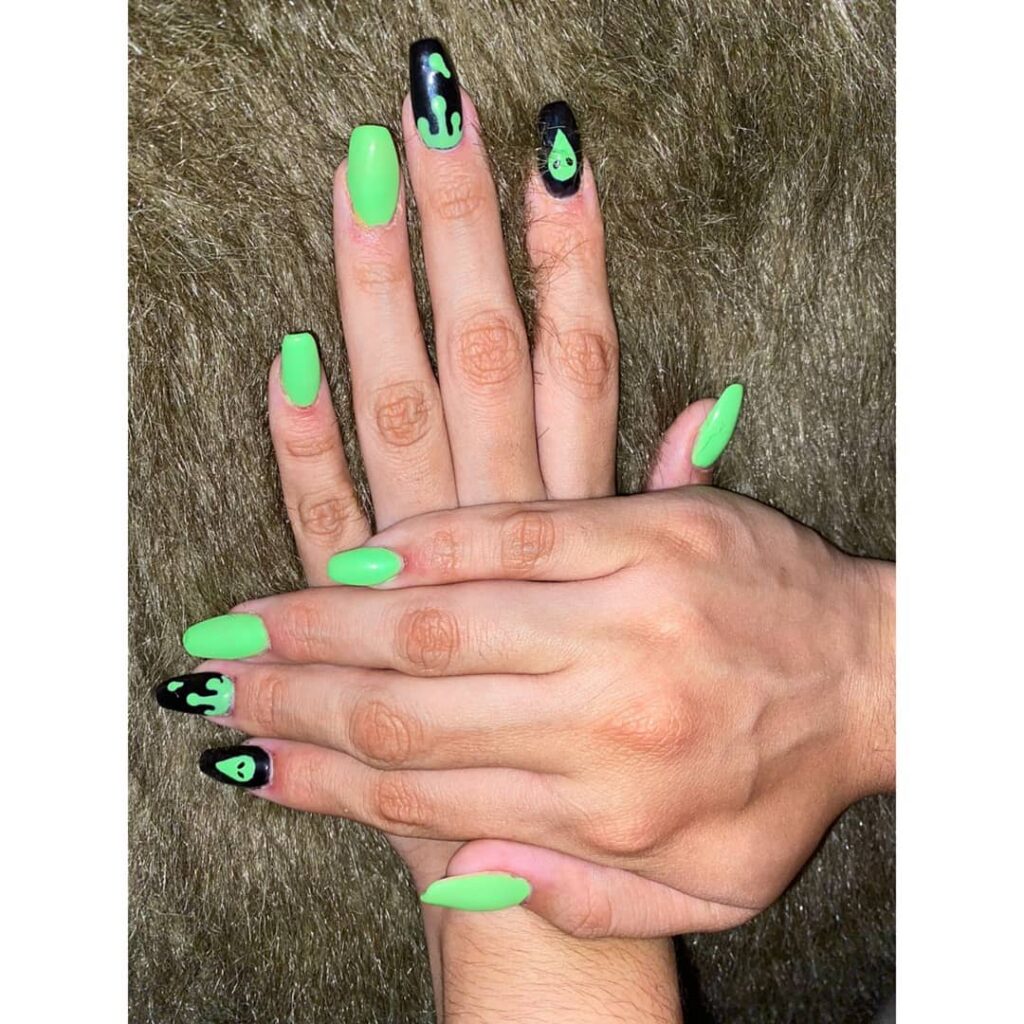
Monster eyes are a creepy and playful design perfect for Halloween. Start with a bright green or orange base coat to represent the monster’s skin. Once dry, use white polish and a dotting tool to create large, bulging eyes on each nail. Use black polish to add pupils, and a fine brush to paint small red veins for an extra creepy effect. You can also add some sharp teeth or a drooling mouth on an accent nail to complete the monster look. This design is perfect for anyone who wants a fun and eye-catching Halloween manicure.
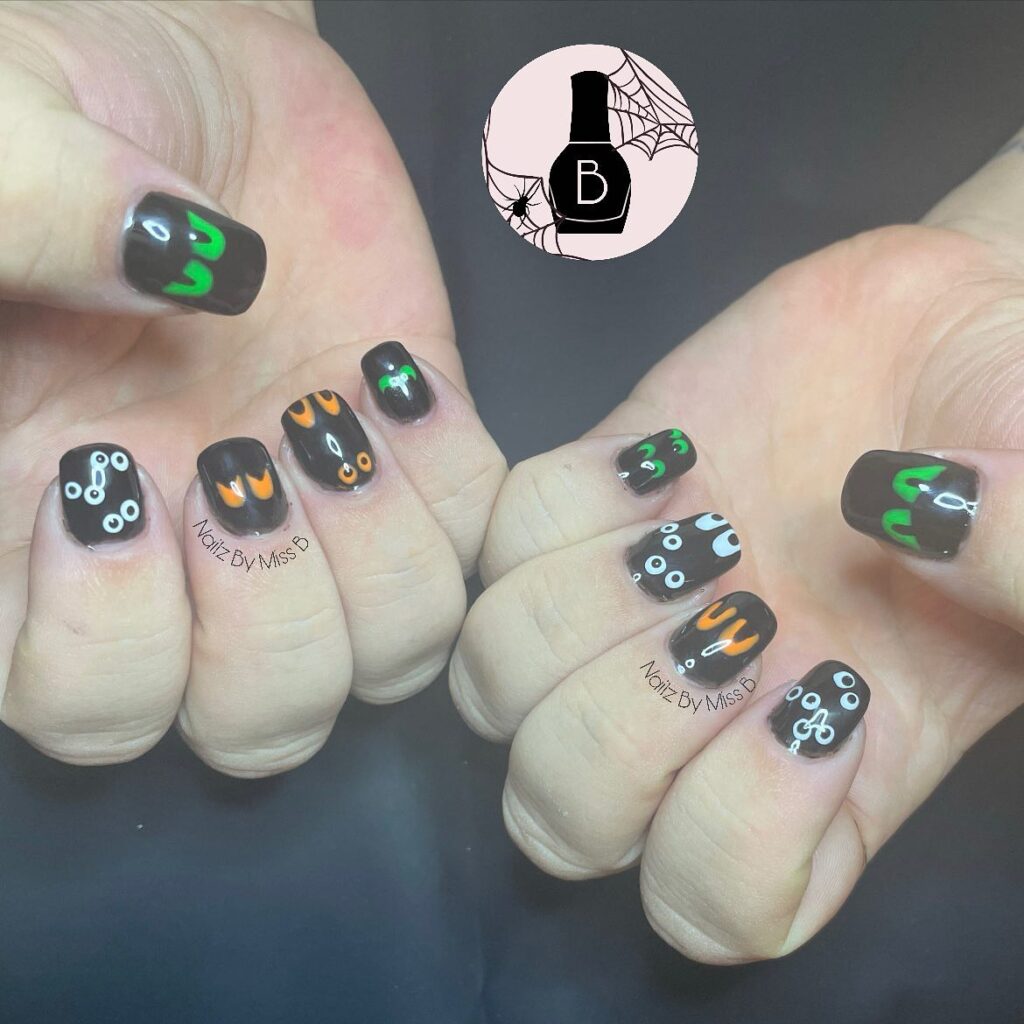
21. Skeleton Hands
Skeleton hand nails are a spooky and intricate design perfect for Halloween. Start with a black base coat to create a dark background. Once dry, use white polish and a fine brush to paint the outline of a skeleton hand on each nail. The hand should cover the entire nail, with the fingers curving around the edges. Add small details like knuckles and joints to make the hand look more realistic. For an extra touch, you can add some black shading to create depth and make the hand look more three-dimensional. This design is perfect for anyone who wants a more detailed and spooky Halloween manicure.
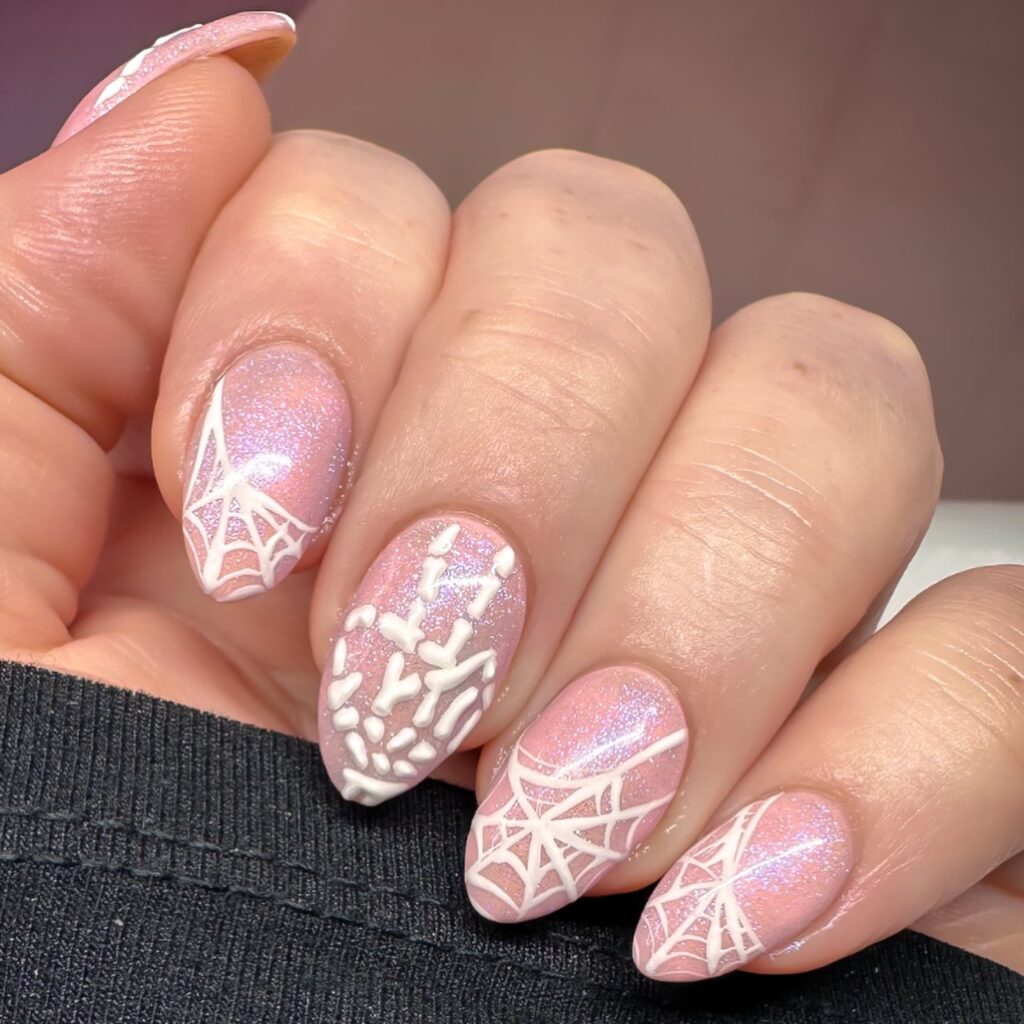
22. Candy Skull
Candy skull nails are a colorful and festive design inspired by the Day of the Dead. Start with a white base coat to represent the skull. Once dry, use a fine brush and various bright colors to paint intricate patterns on the skull, such as flowers, hearts, and swirls. Add black polish to outline the eyes, nose, and mouth of the skull, and use a dotting tool to add small details like dots and lines. This design is perfect for anyone who wants to celebrate Halloween with a more vibrant and lively look.
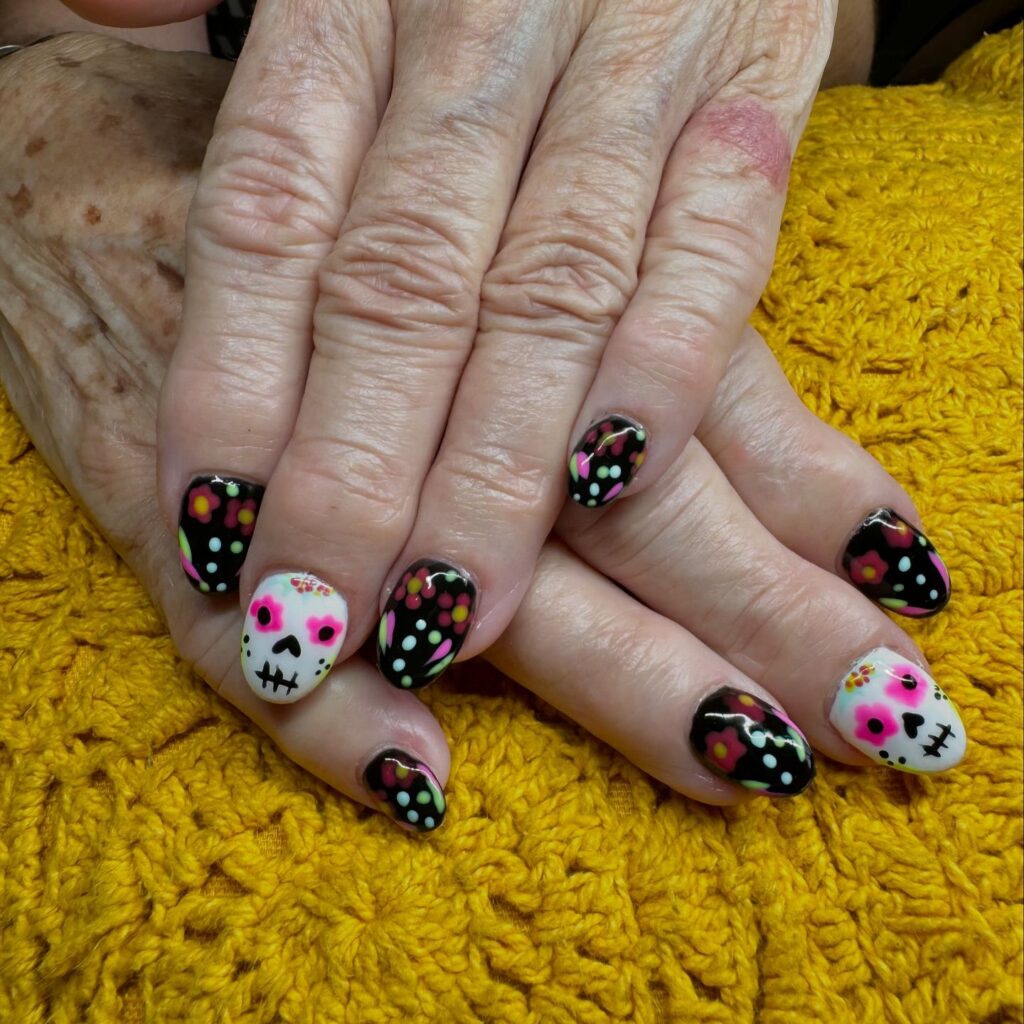
23. Creepy Crawlers
Creepy crawler nails are a fun and spooky design perfect for Halloween. Start with a dark green or brown base coat to represent the ground. Once dry, use black polish and a fine brush to paint the outlines of spiders, centipedes, or other creepy crawlies on each nail. Add small details like legs, antennae, and eyes to make the bugs look more realistic. For an extra touch, you can add some silver or gold glitter to create the look of dew or moisture on the bugs. This design is perfect for anyone who loves the creepy side of Halloween and wants to incorporate it into their manicure.

24. Vampire Bites
Vampire bite nails are a simple yet striking design perfect for Halloween. Start with a pale pink or nude base coat to represent the skin. Once dry, use a fine brush and red polish to paint two small, parallel bite marks on each nail. Add a small drop of blood dripping from each bite using a dotting tool. For an extra touch, you can add some black shading around the bites to create the look of bruising. This design is perfect for anyone who wants a subtle yet spooky Halloween manicure.

25. Witch’s Hat
Witch’s hat nails are a fun and festive design perfect for Halloween. Start with a deep purple or green base coat to represent the witch’s robe. Once dry, use a fine brush and black polish to paint a small witch’s hat on each nail. Add a small buckle or band on the hat using silver or gold polish. For an extra touch, you can add some stars or moons around the hat to create a magical effect. This design is perfect for anyone who loves the whimsical side of Halloween and wants to incorporate it into their manicure.
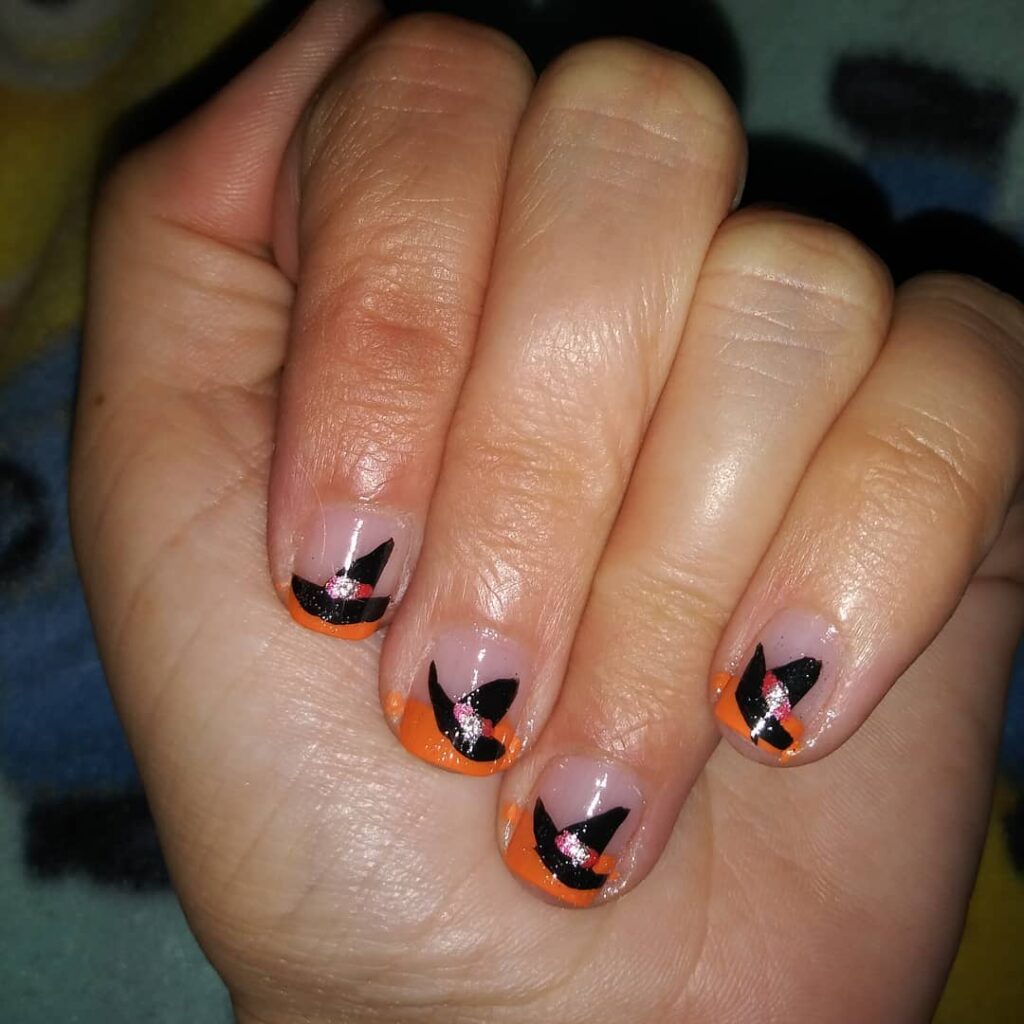
26. Spider’s Nest
Spider’s nest nails are a creepy and intricate design perfect for Halloween. Start with a black or dark grey base coat to create a dark background. Once dry, use white polish and a fine brush to paint a web on each nail, with the lines of the web radiating from the center. Add small black dots on the web to represent spider eggs, and a small spider crawling towards the eggs. For an extra touch, you can add some silver or gold glitter to the web to create the look of dew or moisture. This design is perfect for anyone who loves the creepy side of Halloween and wants to incorporate it into their manicure.
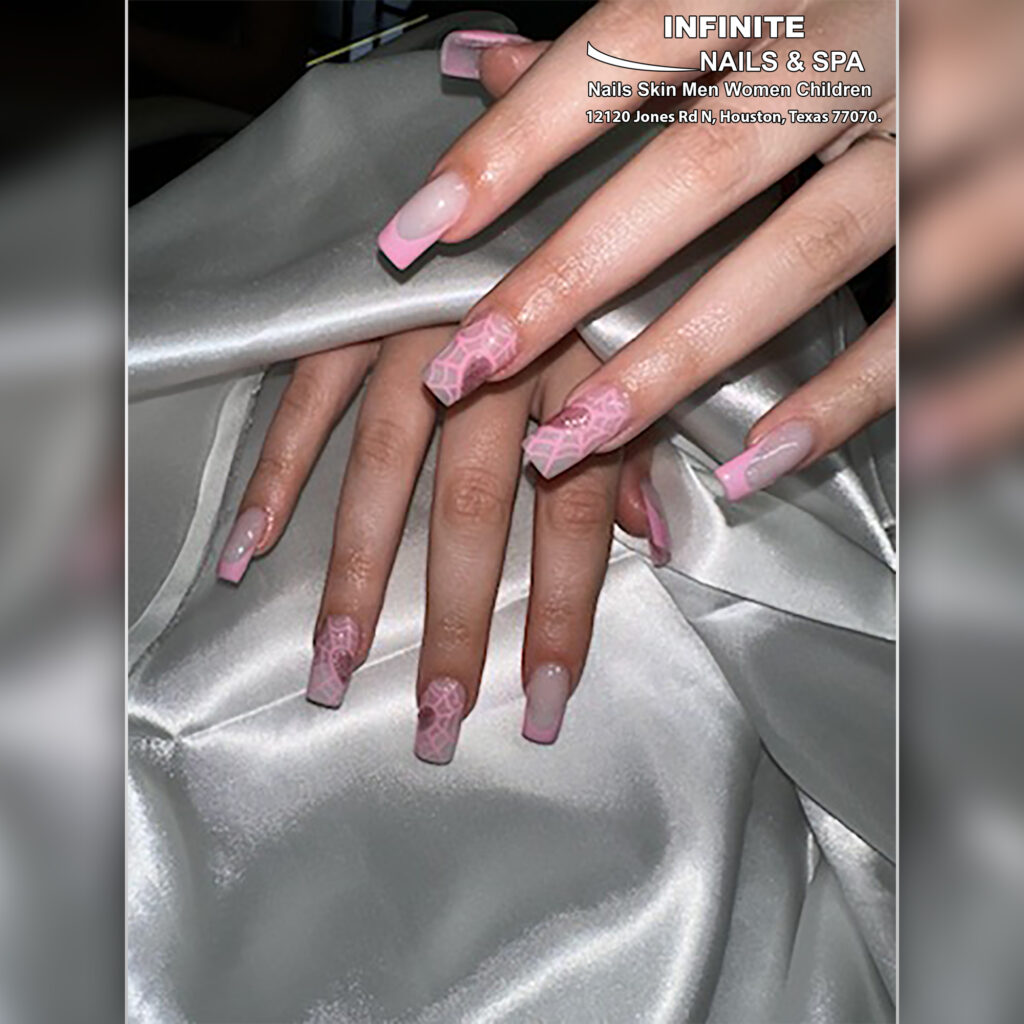
27. Grinning Jack-o’-Lanterns
Jack-o’-lantern nails are a classic Halloween design that never goes out of style. Start with a bright orange base coat to represent the pumpkin. Once dry, use black polish and a fine brush to paint the grinning face of a jack-o’-lantern on each nail. The face should include triangular eyes, a nose, and a wide, toothy grin. For an extra touch, you can add some green polish at the base of the nail to represent the pumpkin’s stem. This design is perfect for anyone who loves the traditional symbols of Halloween and wants to incorporate them into their manicure.

28. Eyeball Nails
Eyeball nails are a creepy and realistic design perfect for Halloween. Start with a white base coat to represent the sclera of the eye. Once dry, use a fine brush and blue or green polish to paint the iris in the center of each nail. Add a black dot in the middle of the iris to represent the pupil, and use a fine brush to add small red veins around the iris to create the look of bloodshot eyes. For an extra touch, you can add a small highlight on the pupil using white polish to create a more realistic effect. This design is perfect for anyone who wants a more detailed and creepy Halloween manicure.
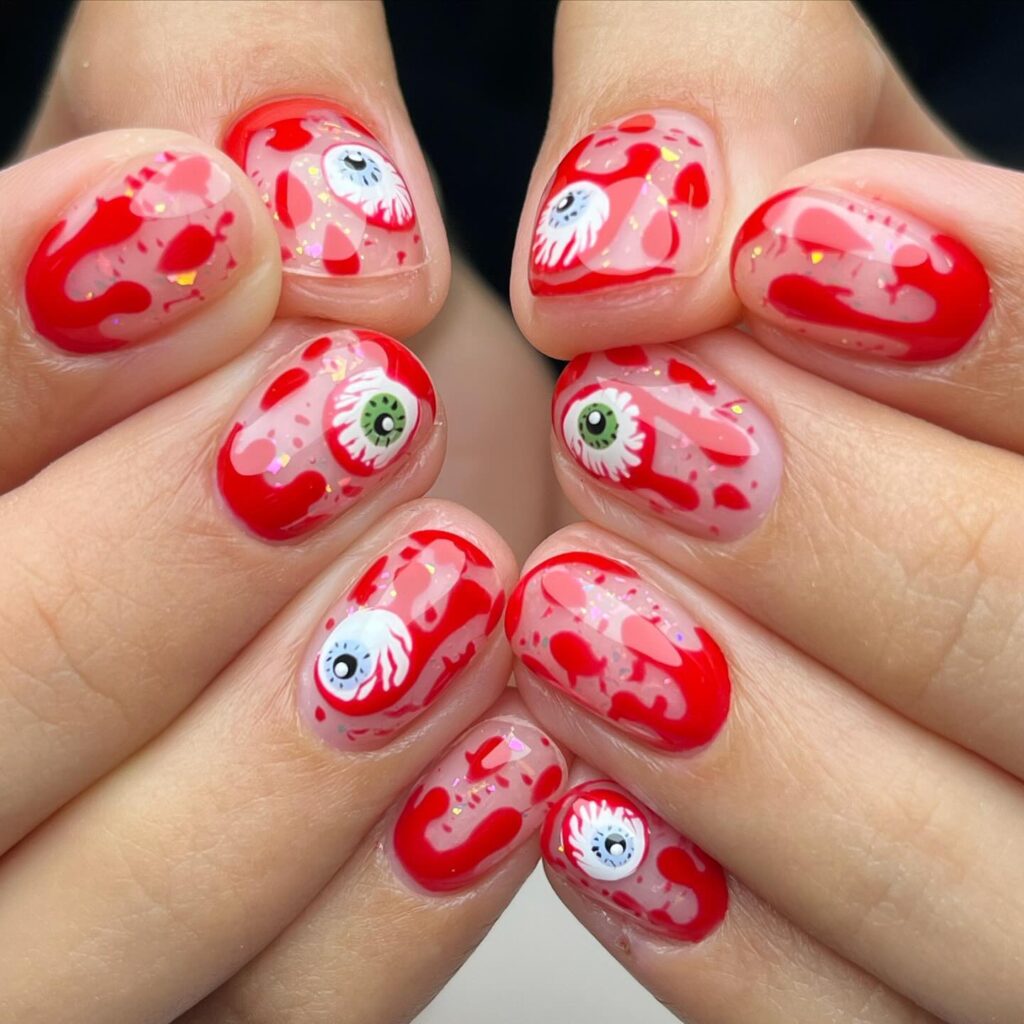
29. Graveyard at Night
Graveyard at night nails are a spooky and atmospheric design perfect for Halloween. Start with a dark blue or black base coat to represent the night sky. Once dry, use a fine brush and black polish to paint the silhouettes of tombstones, trees, and bats on each nail. Add small details like a full moon, clouds, and stars to create the look of a graveyard under a starry sky. For an extra touch, you can add some silver or gold glitter to the sky to create the look of twinkling stars. This design is perfect for anyone who wants to create a detailed and spooky scene on their nails.
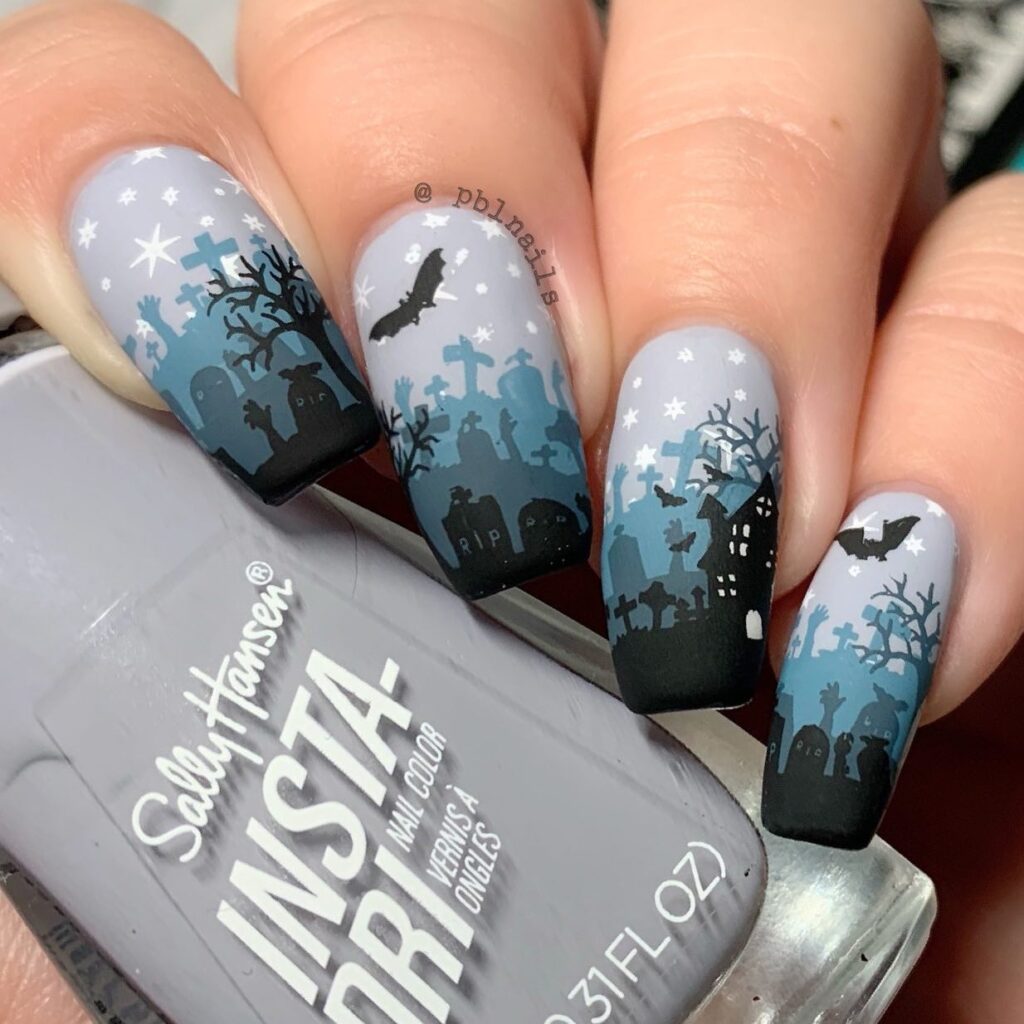
30. Mad Scientist
Mad scientist nails are a fun and whimsical design perfect for Halloween. Start with a bright green or purple base coat to represent the scientist’s laboratory. Once dry, use a fine brush and black polish to paint small beakers, test tubes, and bubbling potions on each nail. Add small details like bubbles, steam, and labels to create the look of a mad scientist’s experiments. For an extra touch, you can add some silver or gold glitter to the potions to create the look of magic or chemicals reacting. This design is perfect for anyone who loves the quirky side of Halloween and wants to incorporate it into their manicure.
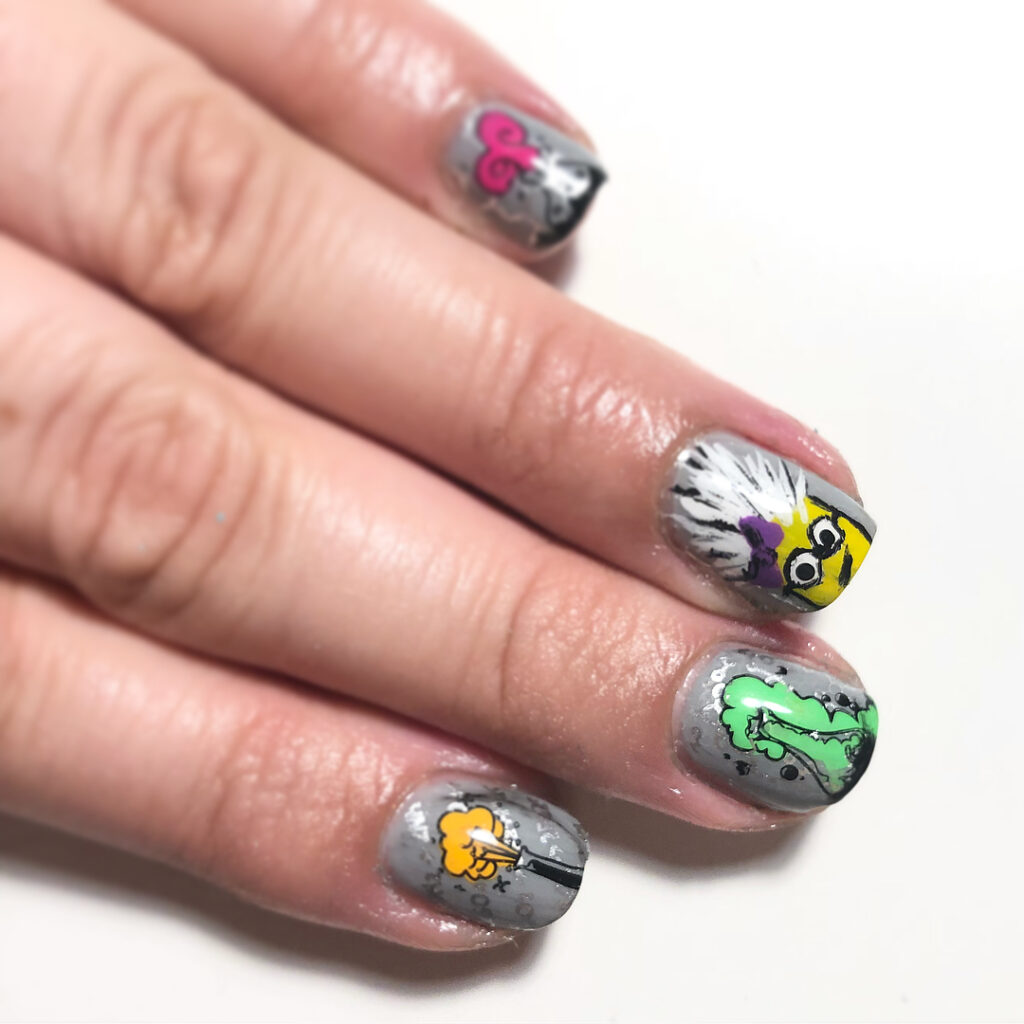
31. Evil Eyes
Evil eye nails are a simple yet striking design perfect for Halloween. Start with a deep red or black base coat to create a dark background. Once dry, use white polish and a dotting tool to create small, oval-shaped eyes on each nail. Add a small black dot in the center of each eye to represent the pupil, and use a fine brush to add small, sharp lashes around the eyes to create a menacing look. For an extra touch, you can add a small highlight on the pupil using white polish to create a more realistic effect. This design is perfect for anyone who wants a subtle yet spooky Halloween manicure.

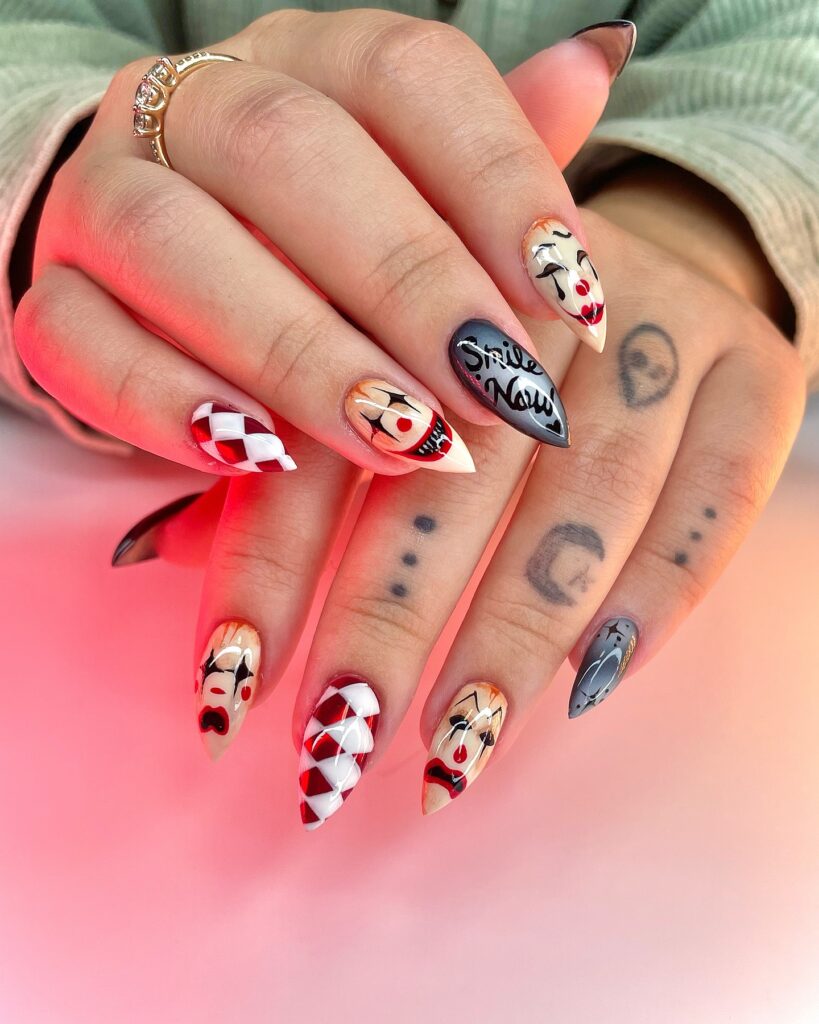
32. Creepy Clowns
Creepy clown nails are a fun and eerie design perfect for Halloween. Start with a white or light pink base coat to represent the clown’s face. Once dry, use a fine brush and black polish to paint the clown’s features, such as its exaggerated smile, large red nose, and sharp, pointed teeth. Add small details like a red wig, bowtie, or polka dots on an accent nail to complete the clown look. For an extra touch, you can add some glitter or rhinestones to the clown’s smile to create a more sinister effect. This design is perfect for anyone who loves the creepy side of Halloween and wants to incorporate it into their manicure.
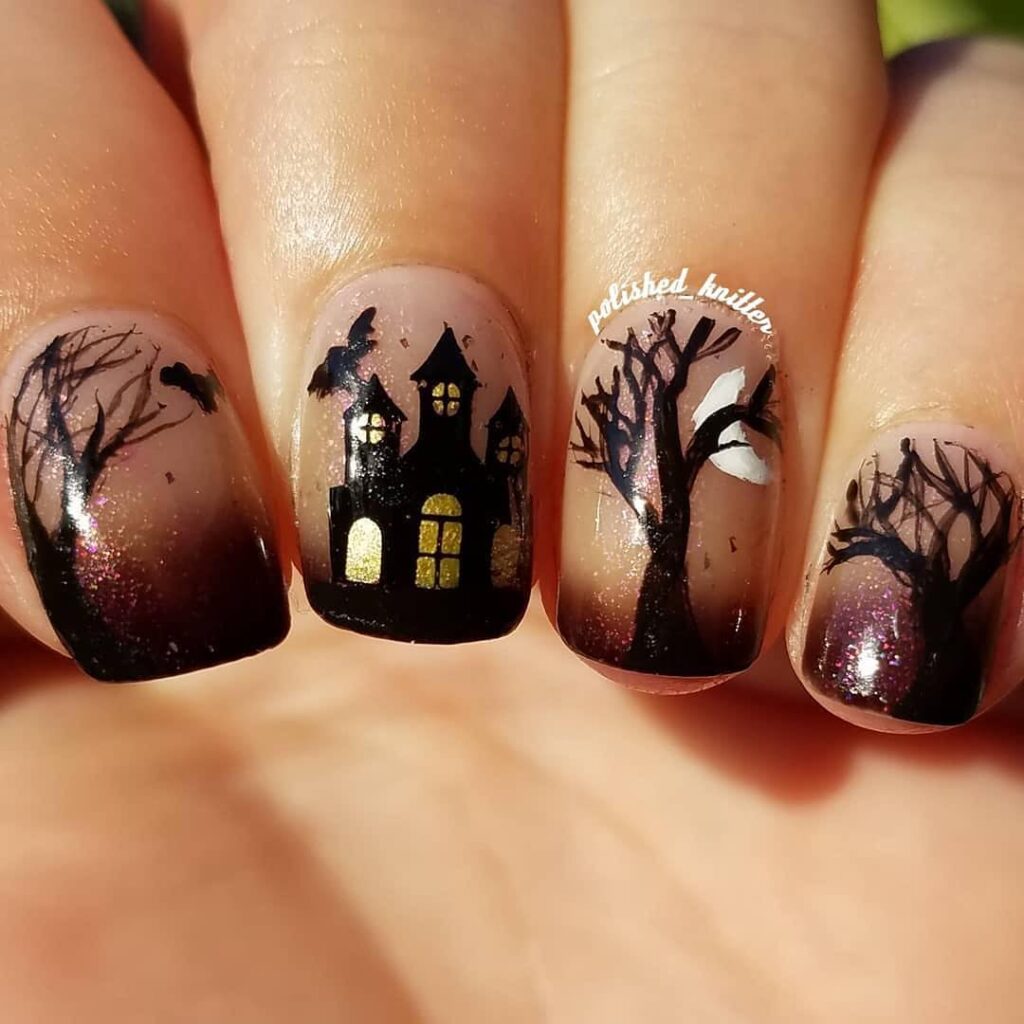
33. Haunted Forest
Haunted forest nails are a spooky and atmospheric design perfect for Halloween. Start with a dark green or black base coat to represent the forest. Once dry, use a fine brush and black polish to paint the silhouettes of trees, branches, and bats on each nail. Add small details like a full moon, clouds, and stars to create the look of a haunted forest under a starry sky. For an extra touch, you can add some silver or gold glitter to the sky to create the look of twinkling stars. This design is perfect for anyone who wants to create a detailed and spooky scene on their nails.
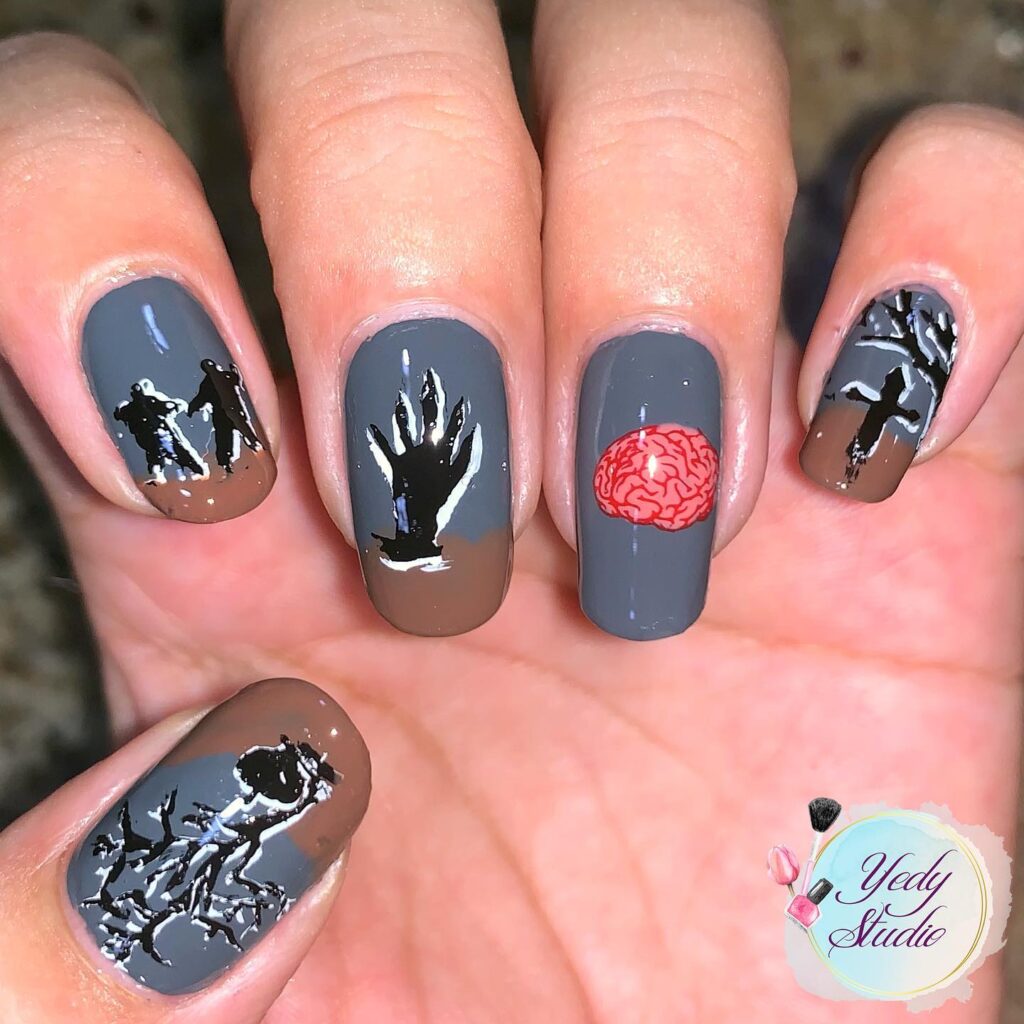
34. Zombie Apocalypse
Zombie apocalypse nails are a gory and gruesome design perfect for Halloween. Start with a pale green or grey base coat to represent the zombie’s decaying skin. Once dry, use a fine brush and black polish to add details like cracks, wounds, and stitches. You can also add a touch of red polish to create the effect of blood oozing from the wounds. For an extra touch, you can use a sponge to dab on some darker green or brown polish to create the look of dirt or decay. This design is perfect for anyone who wants to embrace the more gruesome side of Halloween.
35. Spider’s Webs and Spiders
Spider webs and spiders are a classic Halloween design that never goes out of style. Start with a black or dark grey base coat to create a dark background. Once dry, use white polish and a fine brush to paint a web on each nail, with the lines of the web radiating from the center. Add small black dots on the web to represent spider eggs, and a small spider crawling towards the eggs. For an extra touch, you can add some silver or gold glitter to the web to create the look of dew or moisture. This design is perfect for anyone who loves the creepy side of Halloween and wants to incorporate it into their manicure.
